If you own an electric bike, eventually you will come into circumstances where you will need to take your rear wheel off. It could be either to repair a rear flat tire, fix the hub motor, or deal with some other maintenance issues. The rear wheel on an electric bike is a little more complicated to take off compared to a regular bike since it has more components and electrical wirings that connect the rear hub. In this article, we will detail how to remove the rear wheel from a hub driven ebike.
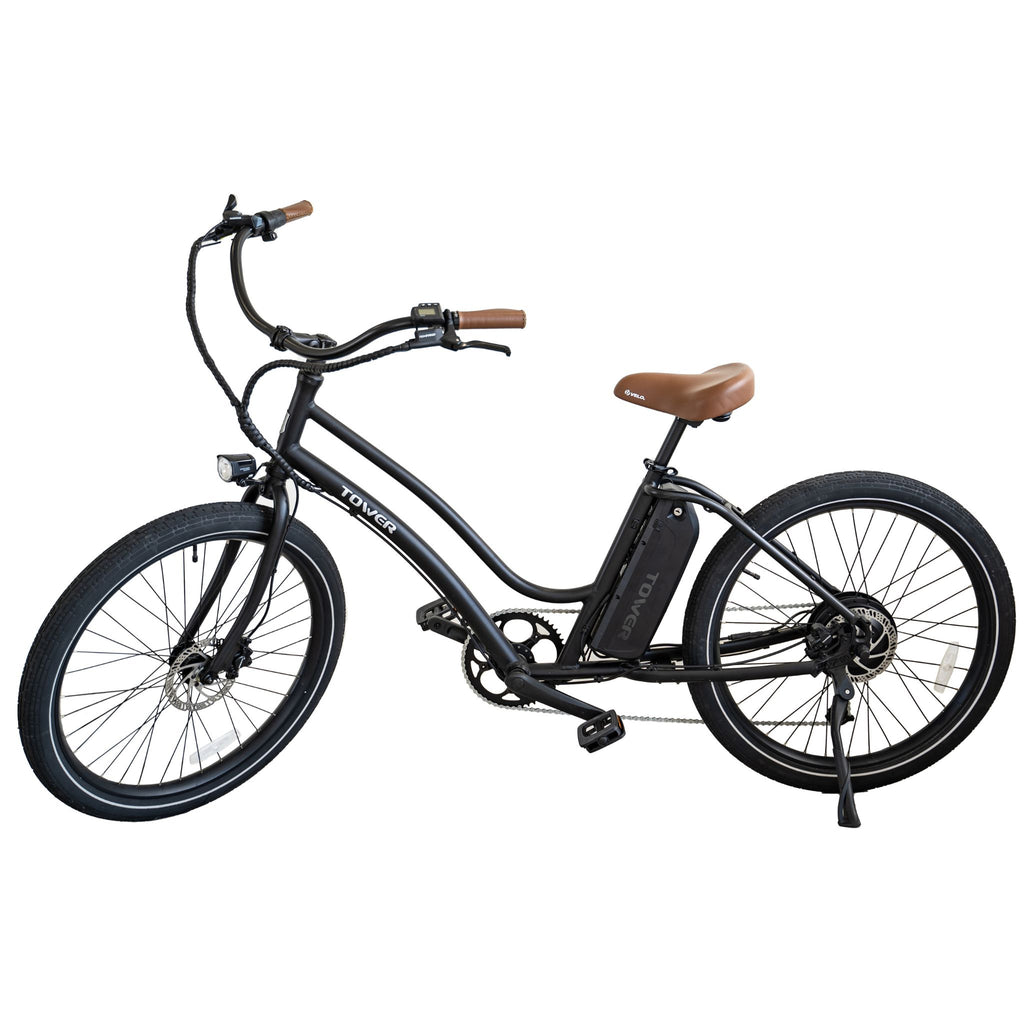
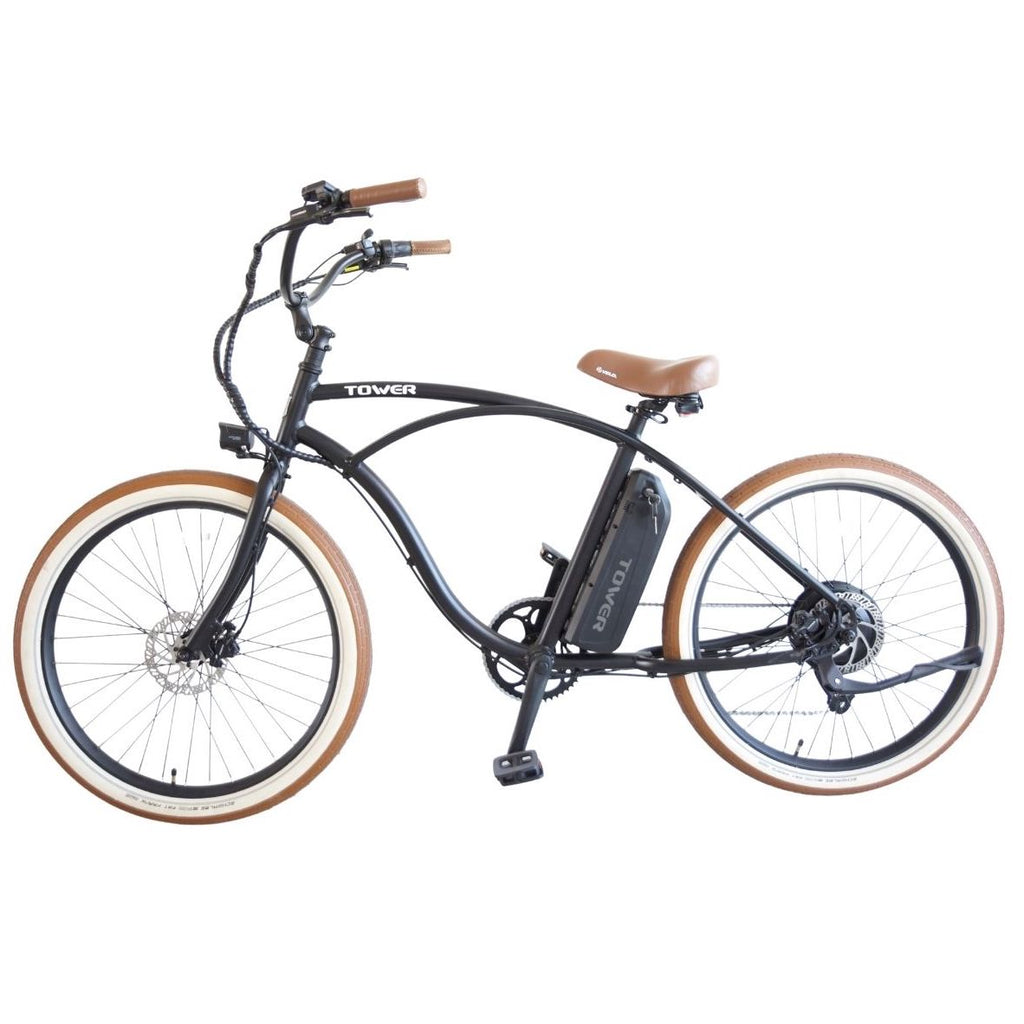
We will be using the Tower Beach Bum V2 to help us demonstrate. Because the rear design of this bike’s axle and washer spacing, it is very similar to most hub driven eBikes on the market, making it a fantastic example to use.
Preparation
For most rear hub driven motors, you will need an 18mm wrench to loosen the bolts securing the wheel. For putting the wheel back onto the bike, you will need a 10mm wrench as well.
Before removing the rear wheel, there are fundamental steps you will need to ensure are completed. You will have to remove the rubber caps on either side of the tire. A lot of eBikes come with rubber caps as an added protection. Additionally, before proceeding, you must always remember to unplug the motor from the rest of the bike. To do this, you will need to trace the cable leaving the controller, down to the chain, into the connection port, and unplug it. On almost all electric bikes this connection point can be seen like in the image to the right.

Additionally, we recommend shifting down to the lowest gear. This will help when putting the rear wheel back in place as the chain will be in its furthest right position and it will be a lot easier to get on.
Removing the Wheel
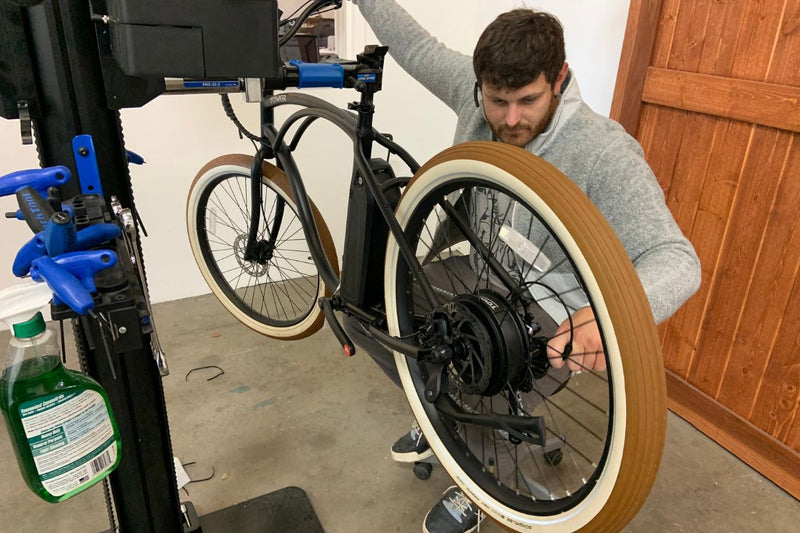
Now that the preparation work is done, you can proceed to removing the wheel. Using the 18mm wrench, start on the left side and remove the nut (as well as the washers) all the way off the axle. It is very important that you take note of the spacing of the washers and the rear axle because this is crucial for the wheel to spin properly. For an in depth look at this step we recommend watching our youtube video located at the beginning of the article.
Once the nut is removed, the wheel can slot right off. It may also be helpful to push down on the rear derailleur to give more cable slack and make it easier for the wheel to take off
Washers
We have previously mentioned the importance of the spacing of the washers. These provide the wheel with extra stability during the ride, specifically where there is a lot of torque on the wheel. Almost all eBikes will have washers on them and they are supposed to be facing down and slot right into the dropouts. When putting the rear wheel back on, it is important that the washers are put back with the exact spacing as when you removed it. If the stack spacing is wrong, it will mess up the way the wheel sits inside the dropouts, and it will noticeably have diminished functionality. Your wheel won't spin as true and may be slightly wobbly if the washers aren't in correct.
Replacing the Rear Wheel
Once you are done servicing the rear wheel, whether that be fixing a flat or replacing it with a new one, you will have to install it back onto the bike. This can be a little more difficult, so we recommend flipping the bike upside down and have gravity assist and do the work for you. Also, if you do have access to a bike stand,it can make this part much easier.
Based on our experience, using a 10mm wrench is very critical in accomplishing this task. The rear axle has flat sides on either side and the 10mm wrench will slot on to that to rotate the axle around. Before placing the wheel, position back the washers accordingly with the right stack spacing. The elbow washer must be facing the bottom and the cable should always be pointing out of the bottom as well (if you flipped your bike over, these should be facing up).
Once the spacers are slid over inside the frame, you will have to get the cable strung through the chain. If you followed our recommendation and shifted it to the lowest gear, this will be a very easy to get on. Check and make sure that the disc rotor is slotted into the caliper properly. It may feel that it fits quite loosely so you will need to shimmy it around to get it into position. Before proceeding further, check again and ensure that your spacers are correct and on the right spots (the elbow spacers should be facing up if your bike is upside down).
Once everything else is in place, you can then put the rear wheel back into place. Using the 10mm wrench, slot and rotate it on the axle. Once the wheel is in place, tighten down the bolts using the 18mm wrench. Remember to put back the rubber cap cover on both sides and slide it back down over the nut.
Lastly, which is one of the most important parts, you must also plug the cable back to the connection port. The cable clip has a little arrow label that must align with the arrow label on the connection port. This style of plug is common on most eBikes. After connecting it in, do not forget to do some cable management to make sure that the cables are not just hanging out exposed.
Rear Wheel Removal on a Folding eBike
Removing the rear wheel on a folding ebike has some small differences. On the left side of the rear axle, you will find a plate that holds the axle onto the frame. Even if you take off the nuts that are securing the wheel, the plate could still be holding the wheel onto the frame. You will have to undo the bolt and take it off for the whole wheel to slot off. However, the spacing and washers are very similar. And as always, remember the stack order and put everything back in the same way when you pulled it off.
Everything DIY E-Bike Repairs
Homepage: eBike Repair Guide
eBike Repair Basics & Assembly
- eBike Specs and Walkthrough
- Tower eBike Serial Numbers
- Recommended Tools eBike Repairs at Home
- eBike Operation Guide
- Initial Build of a Tower eBike
- Tower eBike Torque Specs
- eBike Care and Maintenance
- Quick Reference eBike Repair Guide
eBike Brake System Service Guide
- eBike Hydraulic Brake System Introduction
- How to Adjust an eBike's Hydraulic Brakes
- How to True an eBike Rotor
- E-Bike Brake Rotor Install
- Brake Pad Install for E-Bikes
- How to Resurface eBike Brake Pads and Rotors
- How to Bleed Hydraulic Brakes on an eBike
eBike Drivetrain Service Guide
- How to Clean Your eBike Drivetrain
- Shifting Adjustment on an E-Bike
- Electric Bike Shifter Cable Install
- How to Install a New Chain on an eBike
- E-Bike Derailleur Installation
- Replace the Shifter on an E-Bike
- Replace an Electric Bike Cassette
- Crankset Install on an E-Bike
- E-Bike Derailleur Hanger Adjustment
- Installing Pedals on an Electric Bike
eBike Wheels & Tire Guide
- Flat Tire Repair on an Electric Bike
- New Tire Install on an Electric Bike
- Rear Wheel (with Hub Motor) Removal Guide
- How to True E-Bike Wheels
- Electric Bike Spoke Replacement
eBike Electric Repair Guide
- E-Bike Electrical System Overview
- Intro to Electrical Troubleshooting an eBike
- Methods of Electrical Troubleshooting an eBike
- Electric Bike Error Codes
- Electric Bike Battery Services
- Electric Bike Motor Issues
- E-Bike Will Not Power On
- Troubleshooting Pedal Assist on an E-Bike
- No Throttle Power eBike Troubleshooting
- E-Bike Does Not Pedal Assist or Throttle
- Intermittent Power Loss While Riding an eBike
Miscellaneous eBike Service Guide