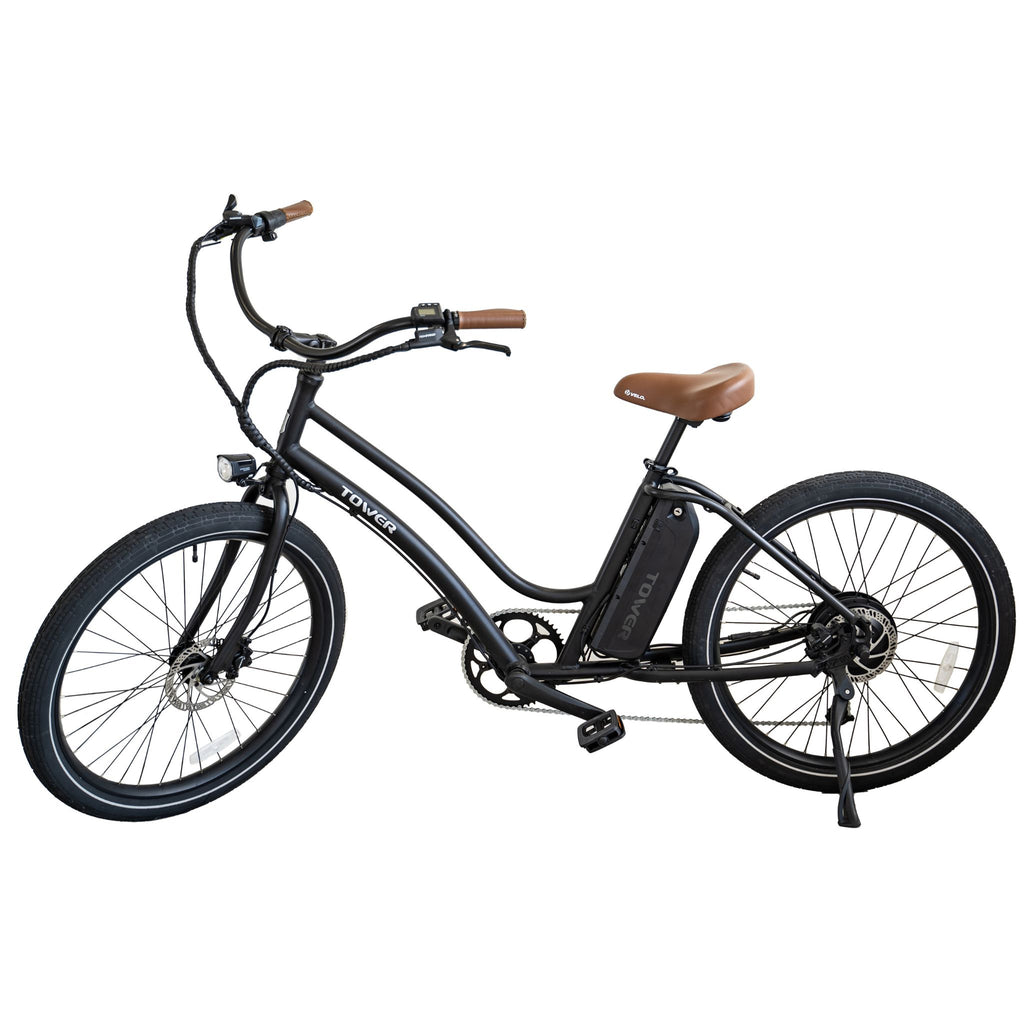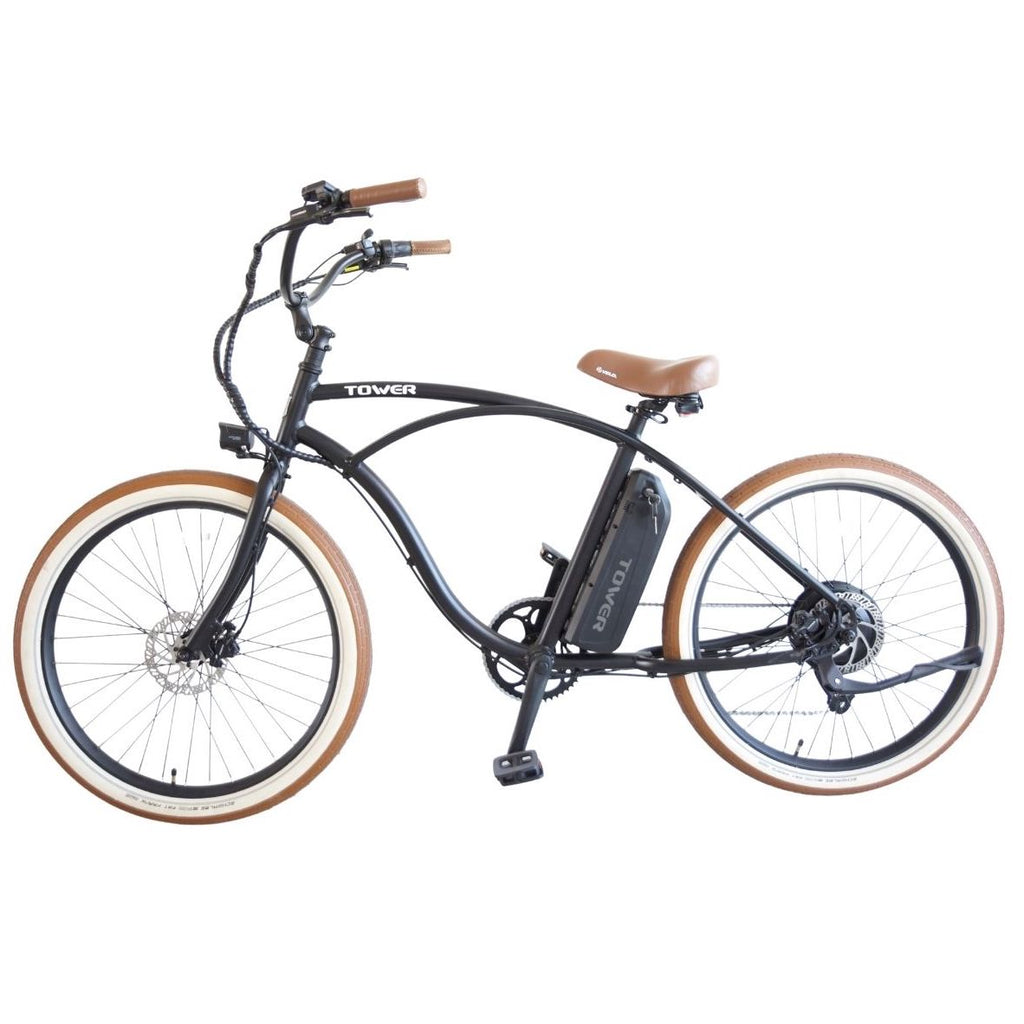
Tires over time will need to be replaced on your Beach Bum or Beach Babe ebikes. Whether it is the tread wearing down, damage to the tire, or something else, this is something that happens to all tires at some point. The rear tire will usually wear faster than the front due to the extra weight it has on it. The good news is that swapping tires is very easy and straightforward!
Here is a video of the process:
Here are the tools needed for this:
- Tire Levers
- 15mm/18mm Wrenches
- Bike Pump
Here is the process:
- First, using either your 15mm or 18mm wrench, remove either the front or rear wheel from the bike.
- If there is any air in the tire, press on the valve pin to let any excess air out.
- With the tire flat, pull the tire edge/bead away from the inner lip of the tire all the way around the wheel so the tire is loose on the rim.
- Take one of your tire levers and hook it underneath the bead/edge of the tire in the wheel. You will have to pull the tire back to reveal this edge.
- Once the tire lever is under the bead of the tire, lever it towards the center of the wheel, pulling that tire edge out from inside of the tire.
- Push the tire lever and rotate it around the wheel, pulling the tire edge outside of the wheel. It may be a little stiff at first, but as it gets around, it gets much easier.
- With one side of the tire now off of the rim, pull the old tube out and set it to the side. As long as it is holding air, we will reuse it (but if you want to install a new tube, feel free to as well).
- There will still be one side of the tire tucked into the rim. Pull it off of the rim so the tire is separated from the rim. If the tire is stiff, you may have to use the tire lever to lift it up and over the rim.
- With the old tire removed, we can now install the new tire. Start by tucking the new tire into the rim. Similar to the flat repair, it may be stiff at the last bit of tire. If you run into difficulties, you can use the tire lever to help flip it over the rim.
- Once one of the sides of the tire is tucked into the rim, we now take the old tube (or new tube if you choose), and start by pushing the valve through the valve hole in the wheel.
- Tuck the rest of the tube into the tire until the whole tube is inside of the tire.
- With the tube now tucked in, it is time to reseat the tire into the wheel. Start on top of the valve by pulling the unseated section of the tire back and tucking it into the rim.
- Continue tucking the lip of the tire into the wheel all the way around. Take care not to get the tube stuck in between the tire and the rim, or you can pinch the tube and tear it.
- Once you get to the side opposite the valve, it may get a bit stiff to tuck the tire back in. If it is too stiff to move, go around on either side of the tire and pinch both sides of the tire and push down into the rim. Continue doing this, getting closer and closer to the section of tire still needing to get tucked in. As you get to this section, it should be much easier to get that tire tucked.
- Once the tire has been tucked back into the rim all the way around, it is time to air up the tire. If you have installed new Fat Frank tires, the recommended PSI to inflate to is 30-65 PSI. If you installed a different tire, refer to the sidewall for the appropriate pressure.
Everything DIY E-Bike Repairs
Homepage: eBike Repair Guide
eBike Repair Basics & Assembly
- eBike Specs and Walkthrough
- Tower eBike Serial Numbers
- Recommended Tools eBike Repairs at Home
- eBike Operation Guide
- Initial Build of a Tower eBike
- Tower eBike Torque Specs
- eBike Care and Maintenance
- Quick Reference eBike Repair Guide
eBike Brake System Service Guide
- eBike Hydraulic Brake System Introduction
- How to Adjust an eBike's Hydraulic Brakes
- How to True an eBike Rotor
- E-Bike Brake Rotor Install
- Brake Pad Install for E-Bikes
- How to Resurface eBike Brake Pads and Rotors
- How to Bleed Hydraulic Brakes on an eBike
eBike Drivetrain Service Guide
- How to Clean Your eBike Drivetrain
- Shifting Adjustment on an E-Bike
- Electric Bike Shifter Cable Install
- How to Install a New Chain on an eBike
- E-Bike Derailleur Installation
- Replace the Shifter on an E-Bike
- Replace an Electric Bike Cassette
- Crankset Install on an E-Bike
- E-Bike Derailleur Hanger Adjustment
- Installing Pedals on an Electric Bike
eBike Wheels & Tire Guide
- Flat Tire Repair on an Electric Bike
- New Tire Install on an Electric Bike
- Rear Wheel (with Hub Motor) Removal Guide
- How to True E-Bike Wheels
- Electric Bike Spoke Replacement
eBike Electric Repair Guide
- E-Bike Electrical System Overview
- Intro to Electrical Troubleshooting an eBike
- Methods of Electrical Troubleshooting an eBike
- Electric Bike Error Codes
- Electric Bike Battery Services
- Electric Bike Motor Issues
- E-Bike Will Not Power On
- Troubleshooting Pedal Assist on an E-Bike
- No Throttle Power eBike Troubleshooting
- E-Bike Does Not Pedal Assist or Throttle
- Intermittent Power Loss While Riding an eBike
Miscellaneous eBike Service Guide