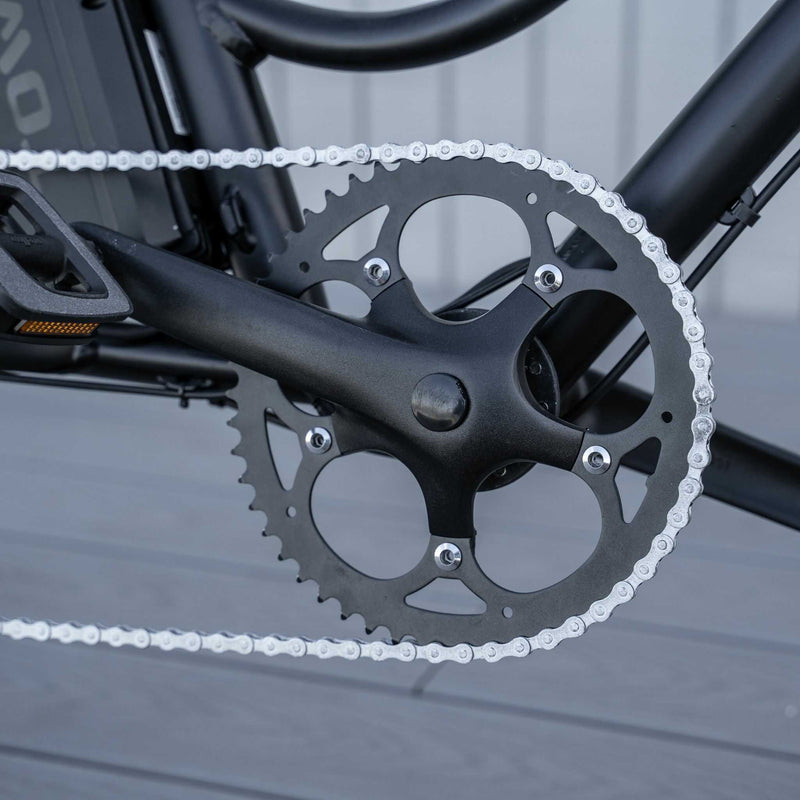
Your chain wear is something that you should stay on top of on any bicycle, but especially so on ebikes. As you ride, the chain can start to wear and it is called chain stretch. The chain does not actually stretch, but the links start to wear and the spacing between them gets bigger. This can cause issues like your chain slipping while riding. However, more importantly, a worn chain will start to prematurely wear out your cassette and crank. When the space in between the links grows, the chain starts to slot over the cassette and chainring teeth at strange spots, which start to wear the teeth down over time. Remember, it is much less expensive and is less work to replace a chain than it is to replace your whole drivetrain!
Here is a video walking through the process:
Here are the tools needed for this:
- Chain Tool
- Master Link Pliers

Here is the process:
- The first step in replacing the chain is to take the old chain off. How we take the old chain off will depend on what chain is on the bike and whether it uses a quick link/master link or not.
- If your bike has the original chain, or is a chain without a quick link/master link, then you will use the chain tool to take off the old chain. Using the chain tool, grab the chain at any of the links and attach it to the prongs on the chain tool. Once the chain is in place, turn the chain tool, making sure the chain tool is lined up to push against one of the chain connectors. With the pin lined up, continue to turn the chain tool until the pin is pushed all the way out. Undo the chain tool, and the old chain will come right off.
- If you are replacing a different chain than the original and it uses a quick link/master link, you would use master link pliers to remove the chain. Find where the quick link/master link is. Open the master link pliers and insert them on either side of the quick link/master link. Squeeze the pliers together and the quick link/master link should come loose. Remove the quick link/master link and the chain will come right off.
- Once the old chain has been removed, we must now size the new chain to the bike. 6, 7, and 8 speed bike chains all use the same chain, so we must size/cut the chain down to size for the bike. To do this, we take the new chain and without routing it through the derailleur, drape the chain over the chainring and over the large cassette ring in the back. We then take one end of the chain and bring it up to the side of the chain until it meets the chain at the spot where it is taut. From the spot where they would meet, we then count three whole links down. This will be the spot where we will break the chain.
- Once we have found the spot where we will shorten the chain, mount the chain tool to the spot you are going to shorten it too. Use the chain tool to push the pin out at that section, but do not push it out all of the way! (Unless the chain you are installing uses a quick link/master link) We will be using that pin to reassemble the chain, so if it gets pushed out, getting it back together is very difficult. Once you have the pin pushed out most of the way, pull the excess bit of chain out and dispose of it.
- With the chain shortened to the proper length, we will now route it through the derailleur. We will loop it around the outside of the lower jockey wheel, then across and around the upper jockey wheel, before finally draping it over the cassette. See picture below for the proper routing.
- Once we have the chain routed through the derailleur properly, it is time to finally reassemble the chain! The two cable ends should be hanging down at the lower section. How we reconnect these ends depends on what chain is being used for the service.
- If the chain you are using does not use a master link/chain link, then the pin should still be installed on one of the chain ends. Insert the 2 cable ends together. Depending on how much pin you left exposed, the chain may hold together while you get the chain tool in place. With the chain tool in place, use the tool to push the pin back into the slot. Make sure the hole is lined up with the pin before really turning the tool, as you can potentially damage the chain link. But once they are lined up, the pin should push right in place. Once the pin is in place, bend the link back and forth to loosen up whatever amount of hold is occurring (not doing this will lead to a seized link which will be noticeable when riding).
- If the chain you are using has a master link/quick link, then you will use that link to assemble the chain. Attach the different ends of the quick link/master link to the ends of the chain, and then hook the link together. Open up the master link pliers and put it on either end of the link. Squeeze the pliers together and the quick link/master link will hook into place.
From there, your new chain has now been installed. It is best to run through the gears on your bike to make sure it is shifting well and indexing through all of the gears. If the chain looks like it has a lot of slack or is dropping, you may need to remove a link or two. If the bike does not shift into the larger rings in the cassette, it is possible you took too many links out and you may need to add 1 or 2 more.
Everything DIY E-Bike Repairs
Homepage: eBike Repair Guide
eBike Repair Basics & Assembly
- eBike Specs and Walkthrough
- Tower eBike Serial Numbers
- Recommended Tools eBike Repairs at Home
- eBike Operation Guide
- Initial Build of a Tower eBike
- Tower eBike Torque Specs
- eBike Care and Maintenance
- Quick Reference eBike Repair Guide
eBike Brake System Service Guide
- eBike Hydraulic Brake System Introduction
- How to Adjust an eBike's Hydraulic Brakes
- How to True an eBike Rotor
- E-Bike Brake Rotor Install
- Brake Pad Install for E-Bikes
- How to Resurface eBike Brake Pads and Rotors
- How to Bleed Hydraulic Brakes on an eBike
eBike Drivetrain Service Guide
- How to Clean Your eBike Drivetrain
- Shifting Adjustment on an E-Bike
- Electric Bike Shifter Cable Install
- How to Install a New Chain on an eBike
- E-Bike Derailleur Installation
- Replace the Shifter on an E-Bike
- Replace an Electric Bike Cassette
- Crankset Install on an E-Bike
- E-Bike Derailleur Hanger Adjustment
- Installing Pedals on an Electric Bike
eBike Wheels & Tire Guide
- Flat Tire Repair on an Electric Bike
- New Tire Install on an Electric Bike
- Rear Wheel (with Hub Motor) Removal Guide
- How to True E-Bike Wheels
- Electric Bike Spoke Replacement
eBike Electric Repair Guide
- E-Bike Electrical System Overview
- Intro to Electrical Troubleshooting an eBike
- Methods of Electrical Troubleshooting an eBike
- Electric Bike Error Codes
- Electric Bike Battery Services
- Electric Bike Motor Issues
- E-Bike Will Not Power On
- Troubleshooting Pedal Assist on an E-Bike
- No Throttle Power eBike Troubleshooting
- E-Bike Does Not Pedal Assist or Throttle
- Intermittent Power Loss While Riding an eBike
Miscellaneous eBike Service Guide


