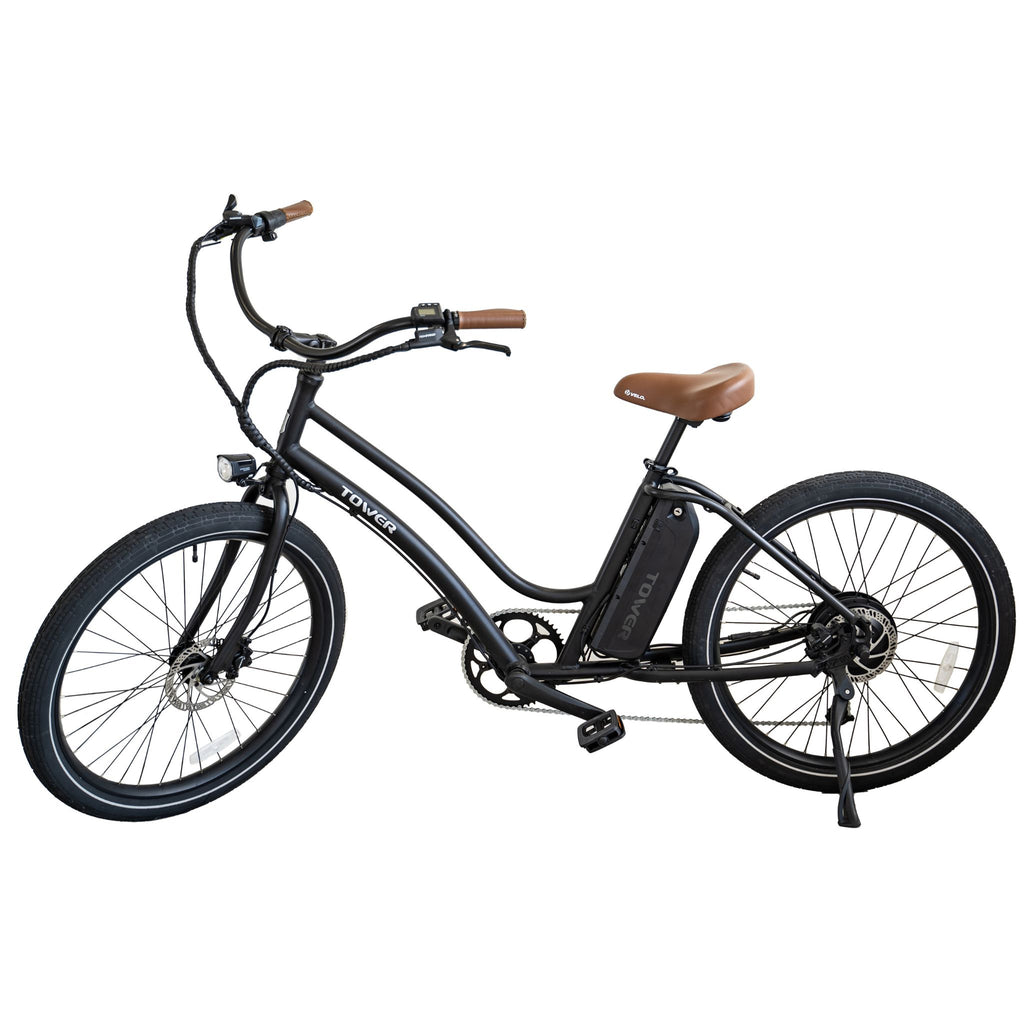
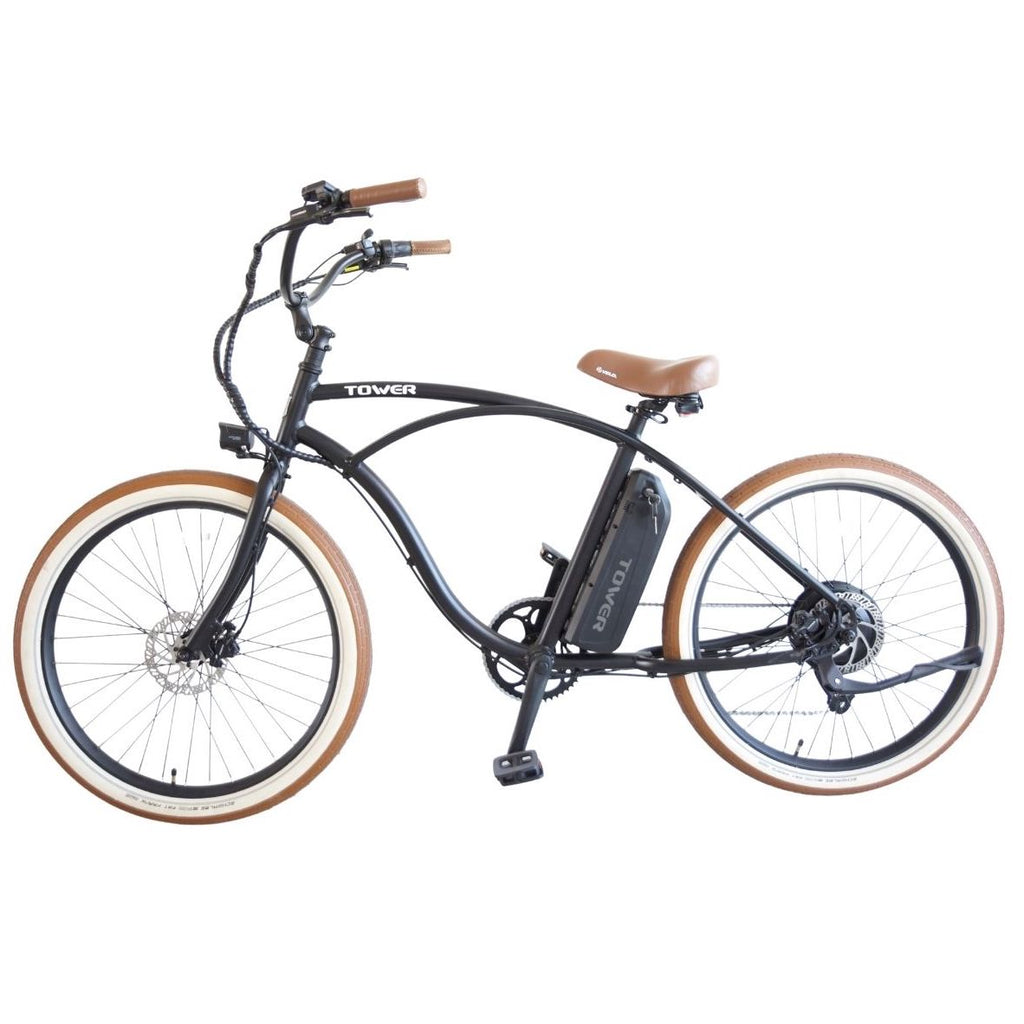
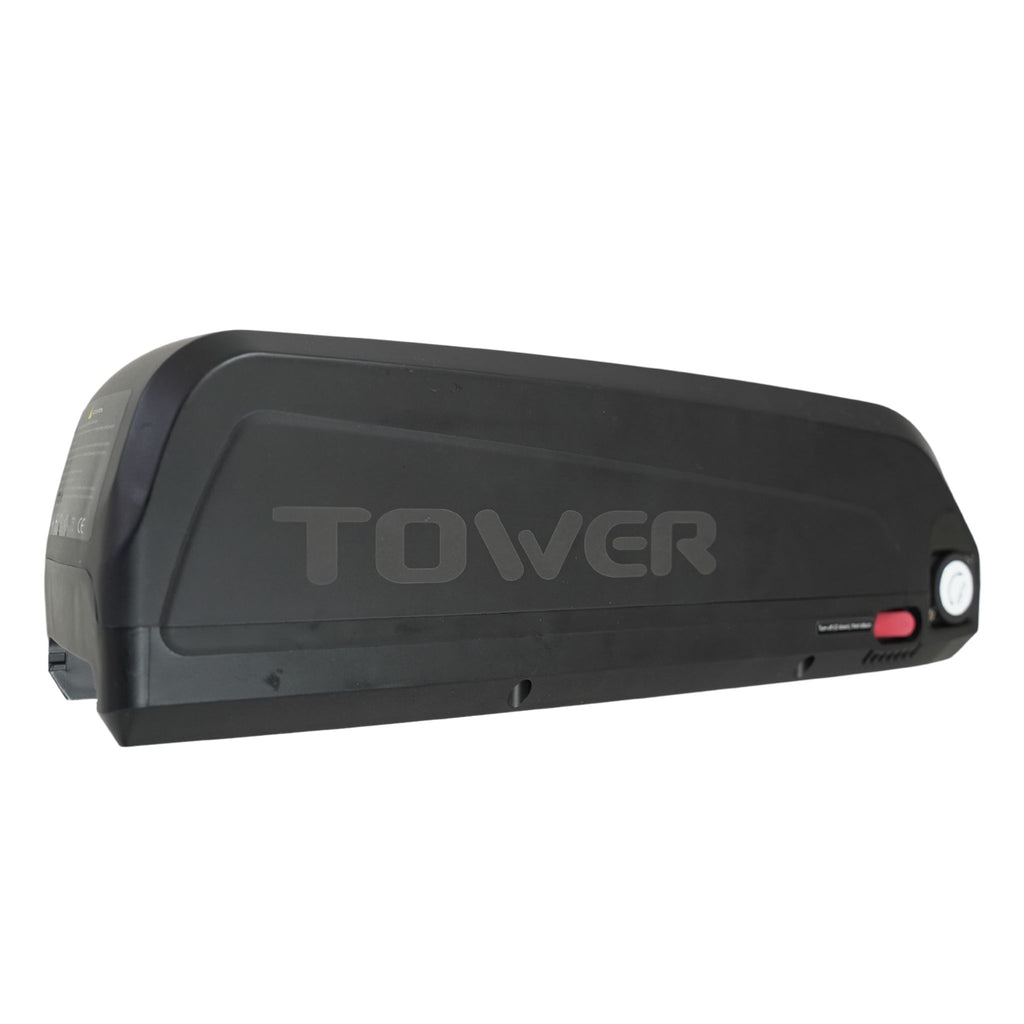
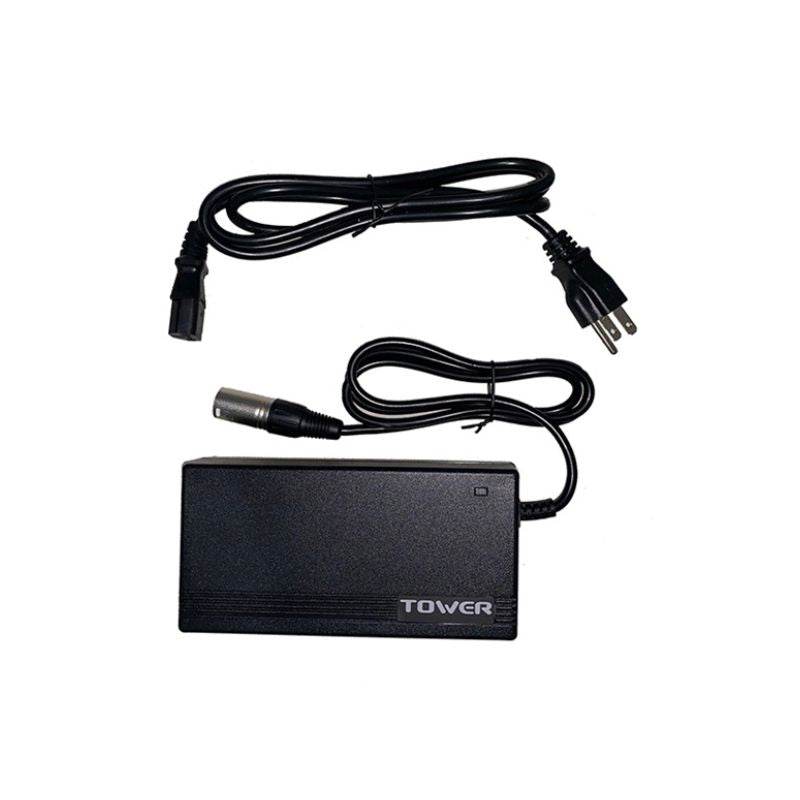
Your Tower ebike has a few ways that you can interface with it, ranging from the electronics to the mechanical drivetrain. But it is all very straightforward to operate and we will walk through how to do that here!

Electronic Interface
The main way that you will interface with your Tower Ebike will be through the LCD Display on the left side of your handlebars. There are only 3 buttons on your LCD Display: two direction buttons and a power/menu button.
To power on your Tower ebike, just hold the center power button (be sure the switch on the battery is also on!). Once your Tower ebike is powered on, you will see this screen:
This will be the main screen you will see when you are operating your Tower ebike. The battery life and pedal assist level will remain on the screen at all times (except when in the settings menu), but the speed section can be changed to display different information. By pressing the power/menu button in the center while the bike is on, you cycle through:
Current Speed > Trip Miles > Odometer/Overall Miles Ridden > Current Ride Time > Average Speed Used > Max Speed Used
Any information besides the current speed will only stay on the screen for a little while before defaulting back onto the current speed.
To change your pedal assist levels, just press the plus to increase or minus to decrease while on the main screen. The max pedal assist level is 5, and 0 is no pedal assist.
There is also a settings menu that you can access as well. To access the settings menu, hold the plus and minus buttons down at the same time. After holding the buttons down, you will be prompted to enter the password. The password by default is 1234. To change the numbers, press plus to go up, minus to go down, and the power/menu button to move onto the next number. When the menu opens up for you, it will display 3 options.

- Clear Trip - This clears the data from your trip mileage display
- MPH or KPH - This allows you to change from kilometers per hour and miles per hour
- Slow Start - This changes the amount of time before the pedal assist kicks in. 0 seconds has the pedal assist kick in right away, where the others give a delay before it kicks in.
To move around the menu, use the plus and minus buttons to move up and down the menu, and then use the power/menu button to select.
To exit from either of the menus, just hold the power/menu button.
To turn your headlight on and off, hold the plus button while the bike is powered on.
Finally, to power off the ebike, on the main screen, press and hold the power button.
Mechanical Interface
The regular bike parts of the bike are fairly simple, but we will walk through how to operate everything else in this section. On the left side of your handlebars, you will find your front hydraulic brake. On the right side of the handlebars, you will find the rear brake, as well as the shifter for the rear derailleur.

The shifter has 2 different operations: shift up and shift down. Pretty simple! The first is the black thumb tab which rotates the shifter around. Using the black thumb tab will shift the bike into a lower gear, making it easier to pedal. The other is the gray button with the plus on it. This shifts the bike into a higher gear, giving more resistance when you pedal for higher speeds. The lower the number on the shifter, the easier it will be to pedal.
Using the black thumb shifter to make it easier to pedal will have more resistance than shifting into a heavier gear with the gray plus button. This is because when you are rotating the shifter with the black thumb tab, you are pulling the cable, which in turn moves the derailleur. The gray button is releasing cable, so it takes no effort, as the cable tension does the work for you!
Everything DIY E-Bike Repairs
Homepage: eBike Repair Guide
eBike Repair Basics & Assembly
- eBike Specs and Walkthrough
- Tower eBike Serial Numbers
- Recommended Tools eBike Repairs at Home
- eBike Operation Guide
- Initial Build of a Tower eBike
- Tower eBike Torque Specs
- eBike Care and Maintenance
- Quick Reference eBike Repair Guide
eBike Brake System Service Guide
- eBike Hydraulic Brake System Introduction
- How to Adjust an eBike's Hydraulic Brakes
- How to True an eBike Rotor
- E-Bike Brake Rotor Install
- Brake Pad Install for E-Bikes
- How to Resurface eBike Brake Pads and Rotors
- How to Bleed Hydraulic Brakes on an eBike
eBike Drivetrain Service Guide
- How to Clean Your eBike Drivetrain
- Shifting Adjustment on an E-Bike
- Electric Bike Shifter Cable Install
- How to Install a New Chain on an eBike
- E-Bike Derailleur Installation
- Replace the Shifter on an E-Bike
- Replace an Electric Bike Cassette
- Crankset Install on an E-Bike
- E-Bike Derailleur Hanger Adjustment
- Installing Pedals on an Electric Bike
eBike Wheels & Tire Guide
- Flat Tire Repair on an Electric Bike
- New Tire Install on an Electric Bike
- Rear Wheel (with Hub Motor) Removal Guide
- How to True E-Bike Wheels
- Electric Bike Spoke Replacement
eBike Electric Repair Guide
- E-Bike Electrical System Overview
- Intro to Electrical Troubleshooting an eBike
- Methods of Electrical Troubleshooting an eBike
- Electric Bike Error Codes
- Electric Bike Battery Services
- Electric Bike Motor Issues
- E-Bike Will Not Power On
- Troubleshooting Pedal Assist on an E-Bike
- No Throttle Power eBike Troubleshooting
- E-Bike Does Not Pedal Assist or Throttle
- Intermittent Power Loss While Riding an eBike
Miscellaneous eBike Service Guide


