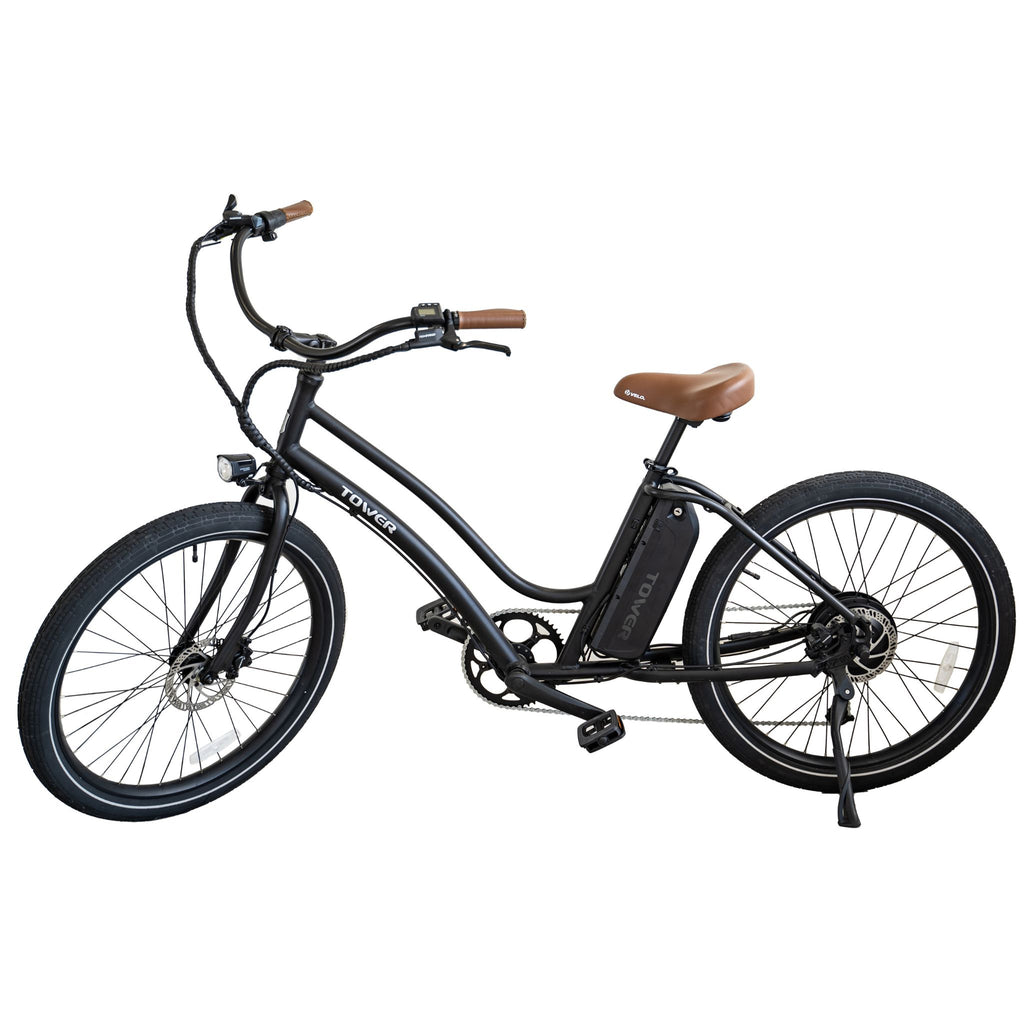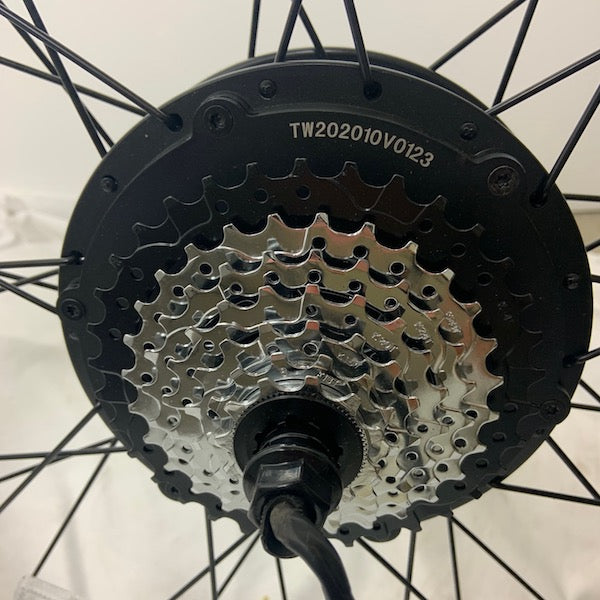
The cassette is the rear sprocket on your bike that allows you to have different speeds while riding. Over time the teeth on the cassette will start to wear down and it will need to be replaced (it can be sooner if you ride on a worn chain as well!). The current cassette that comes stock on your Tower electric bike is a 7 speed cassette, with an 11-34T configuration (which means the smallest ring is 11 tooth and the ;argest is 34 tooth). It is recommended you get the same cassette configuration.
Here is a video of the process:
Here are the tools needed for this:
- Park Tool Cassette Tool FR-5.2H
- Chain Whip
- 18mm Allen Key
- 10mm Allen Key
Here is the process:
- To change the cassette, we must first remove the rear wheel from the bike. First, we must go to the cable coming from the motor and unplug it from the controller.
- Once the cable has been unplugged, use your 18mm allen key to take the axle nuts off. If the wheel does not immediately come off, use your 10mm allen key to rotate the axel and loosen it out of the frame.
- After the wheel has come off of the bike, it is now time to remove the cassette. Take your cassette tool, slide the cable through the tool, and then slot the teeth on the tool into the cassette. Make sure the tool is fully slotted in before continuing.
- With the tool in place, we then use the chain whip to hold the cassette in place. You have probably noticed if you try to turn the cassette tool counterclockwise that it just rotates the cassette around. This is what the chain whip helps prevent. It holds onto the cassette so we can just turn the cassette lockring holding it together.
- Once both the cassette tool and the chain whip are in place, turn the cassette tool counter clockwise, while giving counter torque with the chain whip. After some force, you should feel the cassette tool give and rotate. Once that happens, you can remove the chain whip and cassette tool and take the cassette lockring off by hand.
- After we have taken the cassette lockring off, the whole cassette can come off. The cassette has multiple rings that just slot onto the freehub body (part that ratchets and allows the cassette to move the wheel). Once the lockring has been removed, we can just slide all of those rings off and dispose of them.
- With the old cassette off, we can now slot on the new cassette. You will see many splines that go around the freehub body, and corresponding slots on the cassette. While all of the splines look the same, the cassette will only slot on one way. You will see that one of the splines is much smaller than the others. Inside of the cassette, there will be a matching small groove in the cassette. Match up these 2 spots and the cassette rings will slide ring onto the freehub body.
- Continue to slide the cassette rings onto the freehub body. When you get to the final ring, you will see ridges on the ring. These ridges will be facing up and out.
- Once you have the final ring on, it is time to thread on the cassette lockring. Begin to thread the lockring on by hand. Make sure it is threaded on straight before finishing and tightening down with the cassette tool. If the lockring is crooked, when you tighten it down it could ruin the free hub body. After you know you have it threaded on straight, you can use the cassette tool to tighten down the lockring. If the whole cassette feels loose and moves around, the lockring needs to be tightened more. If the cassette is moving still but the lockring cannot tighten anymore, a cassette spacer may need to be added underneath the cassette. The new cassette would more than likely come with a cassette spacer.
- Once the cassette has been tightened down and does not have any play in it, it is time to remount the wheel to the bike. If you are having trouble getting the wheel back into the dropouts, rotating the axle with your 10mm allen key will help get it into place.
Once the wheel has been reinstalled, your bike is all ready to ride with a brand new cassette!
Everything DIY E-Bike Repairs
Homepage: eBike Repair Guide
eBike Repair Basics & Assembly
- eBike Specs and Walkthrough
- Tower eBike Serial Numbers
- Recommended Tools eBike Repairs at Home
- eBike Operation Guide
- Initial Build of a Tower eBike
- Tower eBike Torque Specs
- eBike Care and Maintenance
- Quick Reference eBike Repair Guide
eBike Brake System Service Guide
- eBike Hydraulic Brake System Introduction
- How to Adjust an eBike's Hydraulic Brakes
- How to True an eBike Rotor
- E-Bike Brake Rotor Install
- Brake Pad Install for E-Bikes
- How to Resurface eBike Brake Pads and Rotors
- How to Bleed Hydraulic Brakes on an eBike
eBike Drivetrain Service Guide
- How to Clean Your eBike Drivetrain
- Shifting Adjustment on an E-Bike
- Electric Bike Shifter Cable Install
- How to Install a New Chain on an eBike
- E-Bike Derailleur Installation
- Replace the Shifter on an E-Bike
- Replace an Electric Bike Cassette
- Crankset Install on an E-Bike
- E-Bike Derailleur Hanger Adjustment
- Installing Pedals on an Electric Bike
eBike Wheels & Tire Guide
- Flat Tire Repair on an Electric Bike
- New Tire Install on an Electric Bike
- Rear Wheel (with Hub Motor) Removal Guide
- How to True E-Bike Wheels
- Electric Bike Spoke Replacement
eBike Electric Repair Guide
- E-Bike Electrical System Overview
- Intro to Electrical Troubleshooting an eBike
- Methods of Electrical Troubleshooting an eBike
- Electric Bike Error Codes
- Electric Bike Battery Services
- Electric Bike Motor Issues
- E-Bike Will Not Power On
- Troubleshooting Pedal Assist on an E-Bike
- No Throttle Power eBike Troubleshooting
- E-Bike Does Not Pedal Assist or Throttle
- Intermittent Power Loss While Riding an eBike
Miscellaneous eBike Service Guide