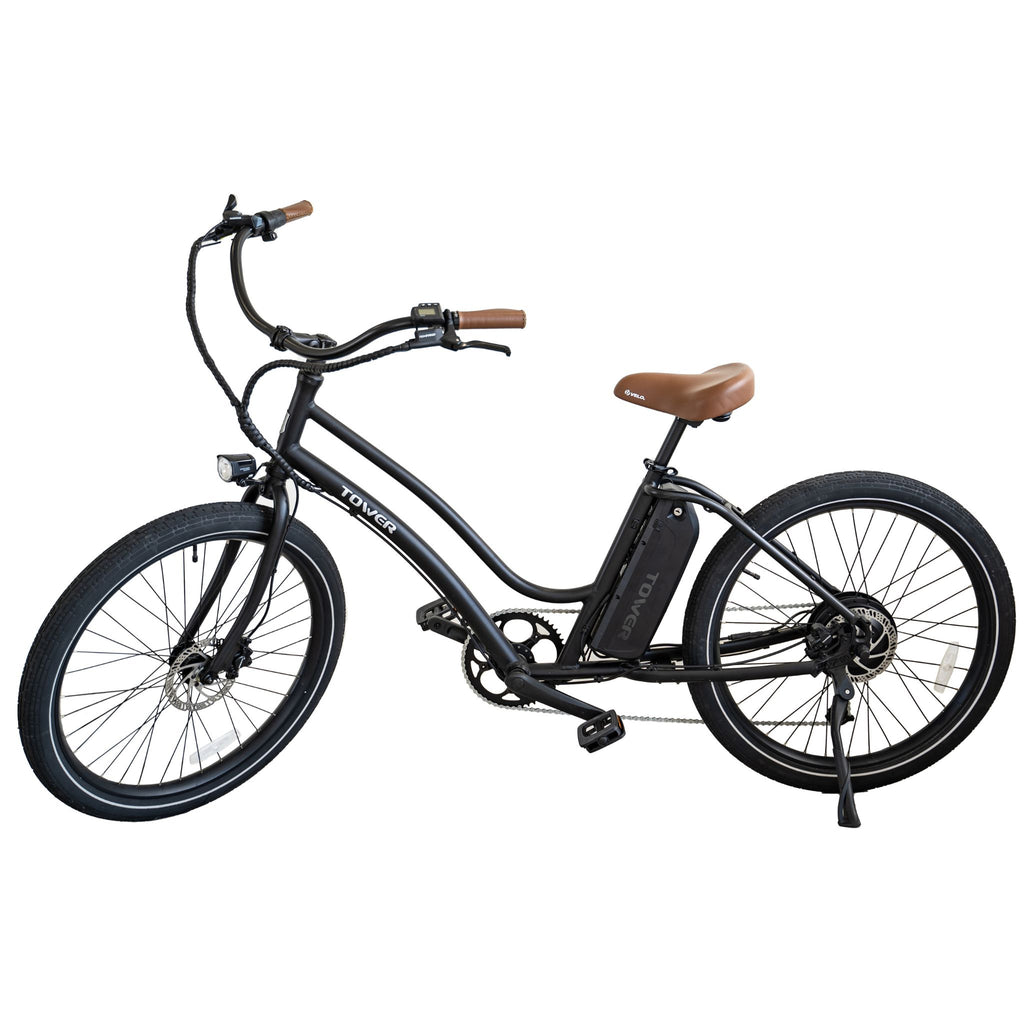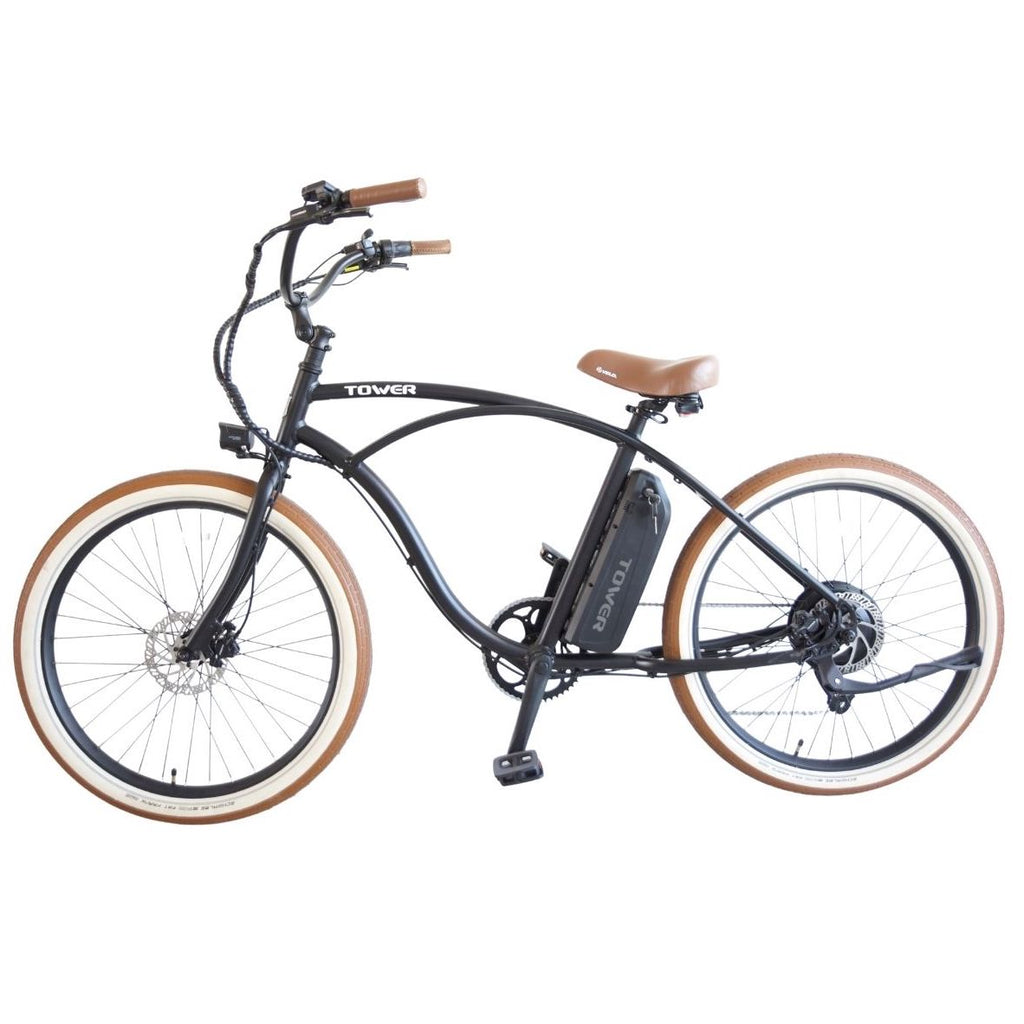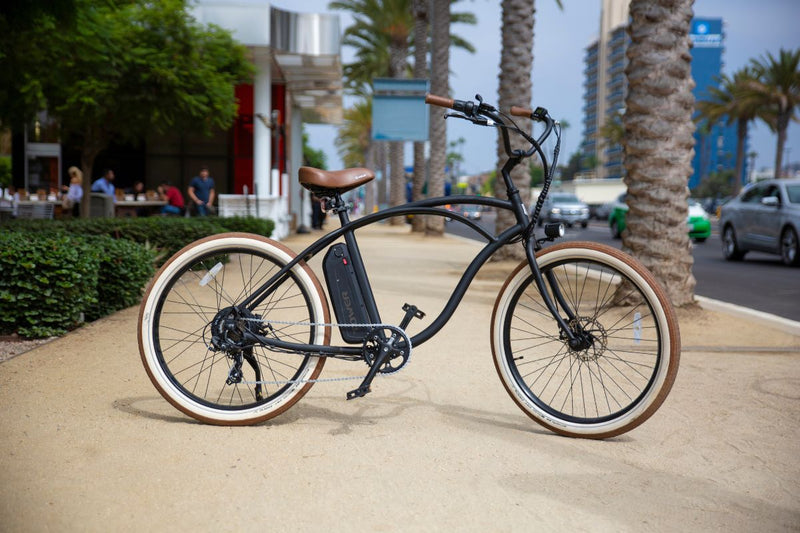
Your new Tower electric bike will arrive to you mostly assembled, but there are a few things you will have to do to complete the build. The main parts that you will have to install will be:

- Front Wheel
- Handlebars (everything will already mounted to the handlebars)
- Pedals
- Seat
- Headlight
So as you can see, the amount of build you have to do on your end is very minimal!
Build Process
This process can be done in any order.
The first thing we recommend installing is the front wheel, so the bike can now stand on its own while you install the rest. Loosen the axle nuts by hand until there is a space big enough to allow the fork to slot on. Once the axle nuts have been loosened, slot the wheel into the fork dropouts. Make sure the axle is in the drop outs all the way before you tighten down the nuts. Use a 15mm wrench to tighten down the axle nuts once the wheel is in place.
After the front wheel has been installed, the best thing to install next would be the handlebars. First, go to the adjustable stem and using a 4mm allen key, remove the 4 front face plate bolts. With the front faceplate removed, line up the center of the handlebars with the slot in the stem. The handlebar should be positioned so the throttle and shifter are on the right and the handlebars sweep back towards you. Once the handlebars are oriented properly, put the faceplate into position and get the 4 bolts started into position. If the handlebars rotate or slide out of position, that is ok, as long as it is in position once you tighten down the faceplate. Once everything is in place and the bolts have been started, begin tightening them down a couple rotations at a time, following an X pattern while tightening (see picture below). Following this X pattern helps ensure the bolts have even torque and hold the handlebars evenly. When you are done tightening these down, the space from the stem to the faceplate should be even on the top and bottom of the handlebar.

Once the handlebars have been mounted to the stem, the seat can be installed next. This one is very straightforward. Just put the seat post into the seat tube opening and set to your appropriate height. Once you have the height set, tighten down the quick release clamp to hold the seat post in place.
With the seat now installed, you can move onto the pedals. The pedals will be labeled as left and right. Make sure you are installing the pedals on their appropriate side! If you force install the pedals on the wrong side, you will damage your bike and the crankset will have to be replaced. The left side pedal/crank arm are reverse threaded, so it will thread in the opposite direction. The best way to get the pedals mounted is to get the threading started, and then while holding the pedal, pedal the crank backwards. This will ensure the pedal goes the right way on both sides. Finish tightening with a pedal wrench or 15mm wrench.
The final part to install is the front headlight. At the arc of the fork, there is a long bolt. Remove that bolt and the cap on the other end. Line the headlight mount up with the hole in the fork and push the long bolt through. Using the bolt cap and a 10mm wrench to tighten down the bolt and secure the headlight to the fork. Once it is mounted and straight, find the loose connection end on the wiring harness, match up the arrows to the plug on the headlight, and plug the headlight in.
After all that, your Tower ebike is completed! Now, there may be some light tuning that needs to be done to the brakes and/or shifting before the bike is ready to ride. Please see the Shifting Adjustment and Hydraulic Brake Adjustment sections for these processes.
Everything DIY E-Bike Repairs
Homepage: eBike Repair Guide
eBike Repair Basics & Assembly
- eBike Specs and Walkthrough
- Tower eBike Serial Numbers
- Recommended Tools eBike Repairs at Home
- eBike Operation Guide
- Initial Build of a Tower eBike
- Tower eBike Torque Specs
- eBike Care and Maintenance
- Quick Reference eBike Repair Guide
eBike Brake System Service Guide
- eBike Hydraulic Brake System Introduction
- How to Adjust an eBike's Hydraulic Brakes
- How to True an eBike Rotor
- E-Bike Brake Rotor Install
- Brake Pad Install for E-Bikes
- How to Resurface eBike Brake Pads and Rotors
- How to Bleed Hydraulic Brakes on an eBike
eBike Drivetrain Service Guide
- How to Clean Your eBike Drivetrain
- Shifting Adjustment on an E-Bike
- Electric Bike Shifter Cable Install
- How to Install a New Chain on an eBike
- E-Bike Derailleur Installation
- Replace the Shifter on an E-Bike
- Replace an Electric Bike Cassette
- Crankset Install on an E-Bike
- E-Bike Derailleur Hanger Adjustment
- Installing Pedals on an Electric Bike
eBike Wheels & Tire Guide
- Flat Tire Repair on an Electric Bike
- New Tire Install on an Electric Bike
- Rear Wheel (with Hub Motor) Removal Guide
- How to True E-Bike Wheels
- Electric Bike Spoke Replacement
eBike Electric Repair Guide
- E-Bike Electrical System Overview
- Intro to Electrical Troubleshooting an eBike
- Methods of Electrical Troubleshooting an eBike
- Electric Bike Error Codes
- Electric Bike Battery Services
- Electric Bike Motor Issues
- E-Bike Will Not Power On
- Troubleshooting Pedal Assist on an E-Bike
- No Throttle Power eBike Troubleshooting
- E-Bike Does Not Pedal Assist or Throttle
- Intermittent Power Loss While Riding an eBike
Miscellaneous eBike Service Guide