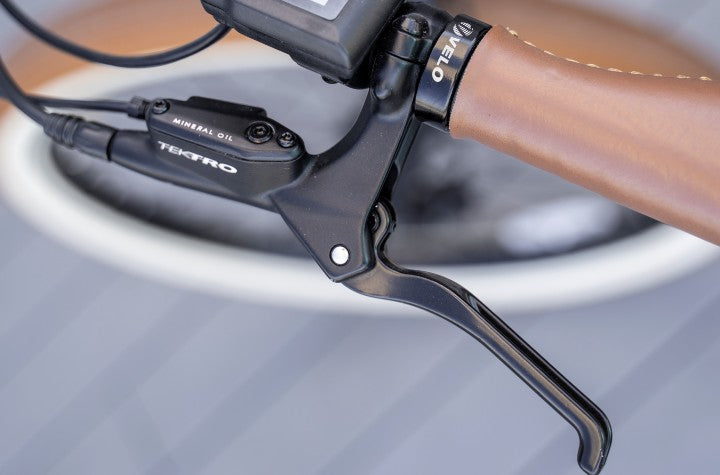
Hydraulic disc brakes do need to be adjusted from time to time on your ebike, most of the time after a new brake install, new brake pad install, or after a bleed. It is not as intensive as a mechanical brake install, as you do not have to worry about making sure the pads are balanced or the brakes have good pull and braking power (this is done during the brake bleed). A hydraulic brake adjustment is more just lining up the caliper so that the brake pads are not rubbing on the brake rotor. If they are rubbing, you will typically hear a sound, ranging from a loud scrap/dragging sound, to a small, periodic “ting” noise.
Here is a video walking through the whole process for a visual
The tools you will need for this will be:
- 5mm Allen/Hex Key
- Torque Wrench
- Bike Stand/Way to Hold up the Ebike
Here is the process below:
- Loosen the 2 bolts attaching the brake caliper to the frame using the 5mm Allen/Hex key. Do not fully remove them, just loosen them enough so that the brake caliper can move around.
- Spin the wheel while the brake caliper is loose, and then grab the brake lever, locking the wheel in place. Repeat this a couple of times.
- On the final spin, instead of releasing the brake lever, hold it in place and then tighten down the 2 bolts with your 5mm Allen/Hex key. Finish tightening them to a torque rating of 6-8 nm.
If all goes well, with the self centering pistons, the brake should be centered on the rotor. If you hear it rub, but only at a certain spot on the rotors rotation, then your rotor needs to be trued. Please refer to the Rotor Truing section of this guide.
If this did not center the rotor properly and it is rubbing on one or both sides of the rotor, follow the below directions:
- Look directly at the brake caliper from the front so you can see the rotor in between the brake pads. You may need a flashlight to help illuminate the space between them.
- Look to see which side the rotor is touching/is closest to the brake pad. Take note of that side.
- Loosen just the top bolt securing the caliper and gently push the caliper from the top section the opposite direction from where it was touching. Look into the caliper and check to see if the rotor is centered between the brake pads on the upper section. If so, tighten the top bolt.
- Repeat this process for the lower bolt.
If all is done well, the rotor should be centered in between the brake pads. Give the wheel a spin to see if it is dragging on either side of the brake pads. It may take a few times to get it perfectly centered and can take some patience.
Everything DIY E-Bike Repairs
Homepage: eBike Repair Guide
eBike Repair Basics & Assembly
- eBike Specs and Walkthrough
- Tower eBike Serial Numbers
- Recommended Tools eBike Repairs at Home
- eBike Operation Guide
- Initial Build of a Tower eBike
- Tower eBike Torque Specs
- eBike Care and Maintenance
- Quick Reference eBike Repair Guide
eBike Brake System Service Guide
- eBike Hydraulic Brake System Introduction
- How to Adjust an eBike's Hydraulic Brakes
- How to True an eBike Rotor
- E-Bike Brake Rotor Install
- Brake Pad Install for E-Bikes
- How to Resurface eBike Brake Pads and Rotors
- How to Bleed Hydraulic Brakes on an eBike
eBike Drivetrain Service Guide
- How to Clean Your eBike Drivetrain
- Shifting Adjustment on an E-Bike
- Electric Bike Shifter Cable Install
- How to Install a New Chain on an eBike
- E-Bike Derailleur Installation
- Replace the Shifter on an E-Bike
- Replace an Electric Bike Cassette
- Crankset Install on an E-Bike
- E-Bike Derailleur Hanger Adjustment
- Installing Pedals on an Electric Bike
eBike Wheels & Tire Guide
- Flat Tire Repair on an Electric Bike
- New Tire Install on an Electric Bike
- Rear Wheel (with Hub Motor) Removal Guide
- How to True E-Bike Wheels
- Electric Bike Spoke Replacement
eBike Electric Repair Guide
- E-Bike Electrical System Overview
- Intro to Electrical Troubleshooting an eBike
- Methods of Electrical Troubleshooting an eBike
- Electric Bike Error Codes
- Electric Bike Battery Services
- Electric Bike Motor Issues
- E-Bike Will Not Power On
- Troubleshooting Pedal Assist on an E-Bike
- No Throttle Power eBike Troubleshooting
- E-Bike Does Not Pedal Assist or Throttle
- Intermittent Power Loss While Riding an eBike
Miscellaneous eBike Service Guide