There is a service that can be done to remedy certain issues your battery may be having. There are still some things that cannot be repaired on the battery and they should be replaced for those conditions, but there is a service that can be done. This service is a terminal replacement. However, please do not attempt this repair unless you are familiar with electronic work and have experience soldering, as it is a bit more in depth than a lot of the other electrical repairs on your bike.
Battery Terminal Replacement
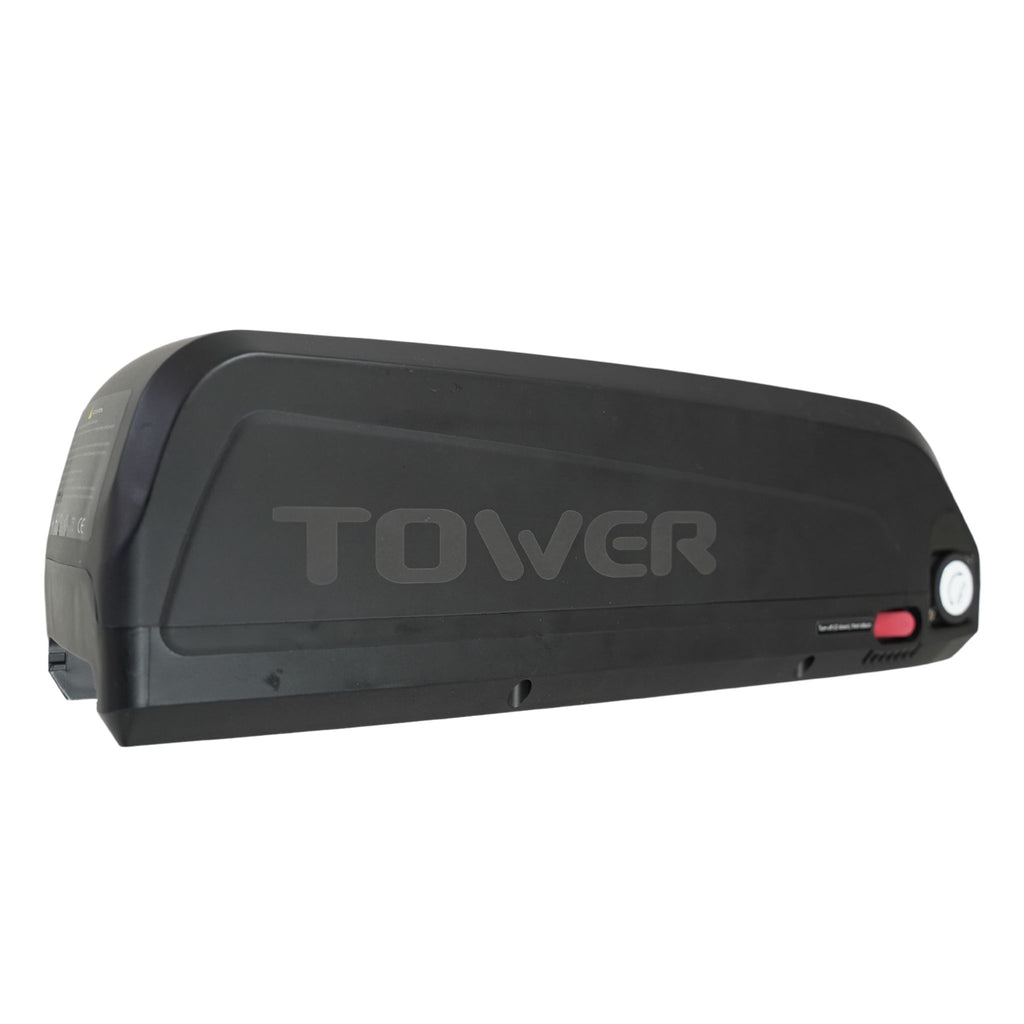
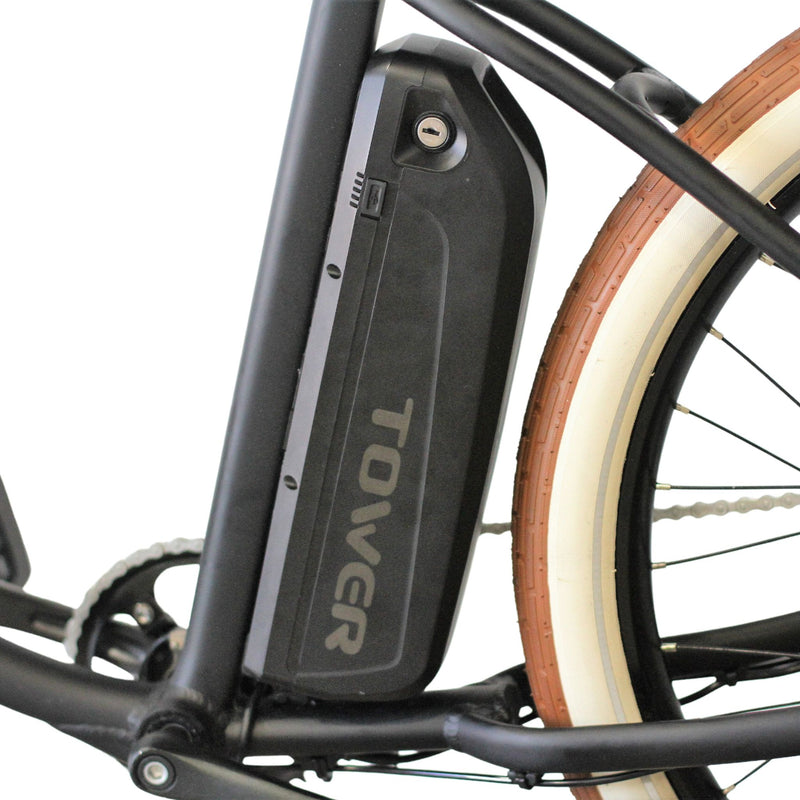
Occasionally the connections on the battery where it slots onto the bike can get damaged and need to be replaced. This task is a bit more in depth compared to other repairs as you will need to have experience soldering. If you do not have experience working with electronic systems and soldering, you should leave this job to a professional.
Here is a video walking through the process:
- First flip the battery so you can see the connection terminals.
- There are 8 retaining screws. Using a Phillips/Cross head screwdriver, remove all of these screws.
- With those screws removed, you can now open the battery case. Do not just yank up, as the top of the case is still attached via various cables. Gently lift the top of the battery case and set it to the side.
- With the inside of the battery exposed, you can see 2 cables routing to the connection ports on the back of the case.
- There will be some glue covering the connection ports. Gently and carefully scrape and remove this glue.
- With the glue removed, it is now time to desolder the cables from the connection terminals. Be very careful to not have those cable ends touch each other. This will complete the circuit and will arc/spark if you touch them together, and even potentially break the battery. Once you desolder one of the connections, it is best to pull/bend it away from the other cable end.
- With both cables removed from the connection ports, unscrew the retaining plate and remove the old connections and plate.
- Take the new retaining plate and connections ends for install. To hold the connection terminals in place, it may be handy to have your controller removed from the bike and use the connection prongs to hold the terminals in place.
- With the new terminals in place, take one of the cable ends and solder them to the 2 terminals ends on the appropriate side. You will see little plus and minus symbols on the retaining plate. Make sure you are routing the black cable to the negative side and the red cable to the positive side.
- Once you have soldered one cable, it is wise to use a hot glue gun to cover the solder and the back of the connection terminals. This would help prevent any accidental touching of the cables/connections while soldering the second cable and connections. Once that is soldered, hot glue that side as well so both of the cables and the back of the terminals are covered in the hot glue.
- With both cables soldered to the new connection terminals, it is now time to seal the battery back up. Tuck any cables away and put the battery shell back in place.
- While making sure you are not pinching any cables, reinstall the 8 retaining screws to assemble the case.
After reassembling the case, the battery should be good to go with the connection terminals installed.
Everything DIY E-Bike Repairs
Homepage: eBike Repair Guide
eBike Repair Basics & Assembly
- eBike Specs and Walkthrough
- Tower eBike Serial Numbers
- Recommended Tools eBike Repairs at Home
- eBike Operation Guide
- Initial Build of a Tower eBike
- Tower eBike Torque Specs
- eBike Care and Maintenance
- Quick Reference eBike Repair Guide
eBike Brake System Service Guide
- eBike Hydraulic Brake System Introduction
- How to Adjust an eBike's Hydraulic Brakes
- How to True an eBike Rotor
- E-Bike Brake Rotor Install
- Brake Pad Install for E-Bikes
- How to Resurface eBike Brake Pads and Rotors
- How to Bleed Hydraulic Brakes on an eBike
eBike Drivetrain Service Guide
- How to Clean Your eBike Drivetrain
- Shifting Adjustment on an E-Bike
- Electric Bike Shifter Cable Install
- How to Install a New Chain on an eBike
- E-Bike Derailleur Installation
- Replace the Shifter on an E-Bike
- Replace an Electric Bike Cassette
- Crankset Install on an E-Bike
- E-Bike Derailleur Hanger Adjustment
- Installing Pedals on an Electric Bike
eBike Wheels & Tire Guide
- Flat Tire Repair on an Electric Bike
- New Tire Install on an Electric Bike
- Rear Wheel (with Hub Motor) Removal Guide
- How to True E-Bike Wheels
- Electric Bike Spoke Replacement
eBike Electric Repair Guide
- E-Bike Electrical System Overview
- Intro to Electrical Troubleshooting an eBike
- Methods of Electrical Troubleshooting an eBike
- Electric Bike Error Codes
- Electric Bike Battery Services
- Electric Bike Motor Issues
- E-Bike Will Not Power On
- Troubleshooting Pedal Assist on an E-Bike
- No Throttle Power eBike Troubleshooting
- E-Bike Does Not Pedal Assist or Throttle
- Intermittent Power Loss While Riding an eBike
Miscellaneous eBike Service Guide