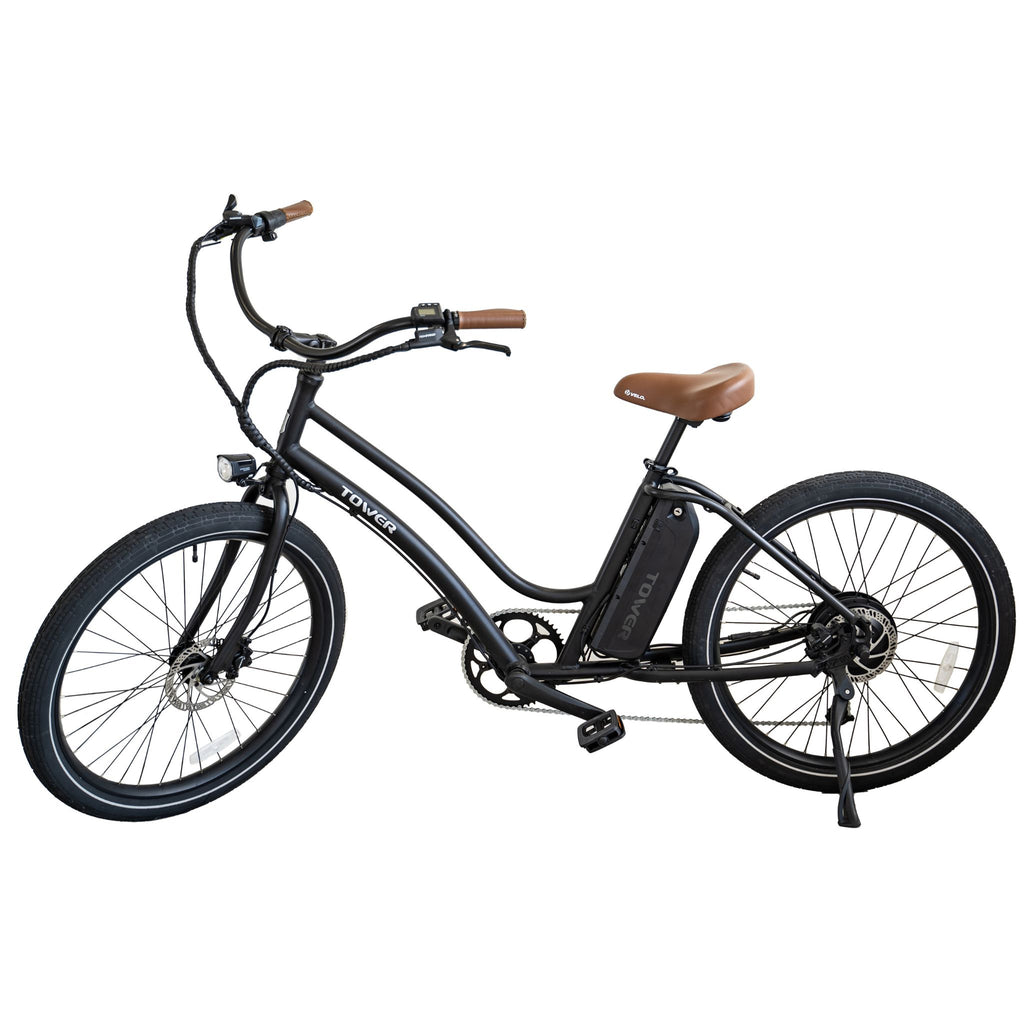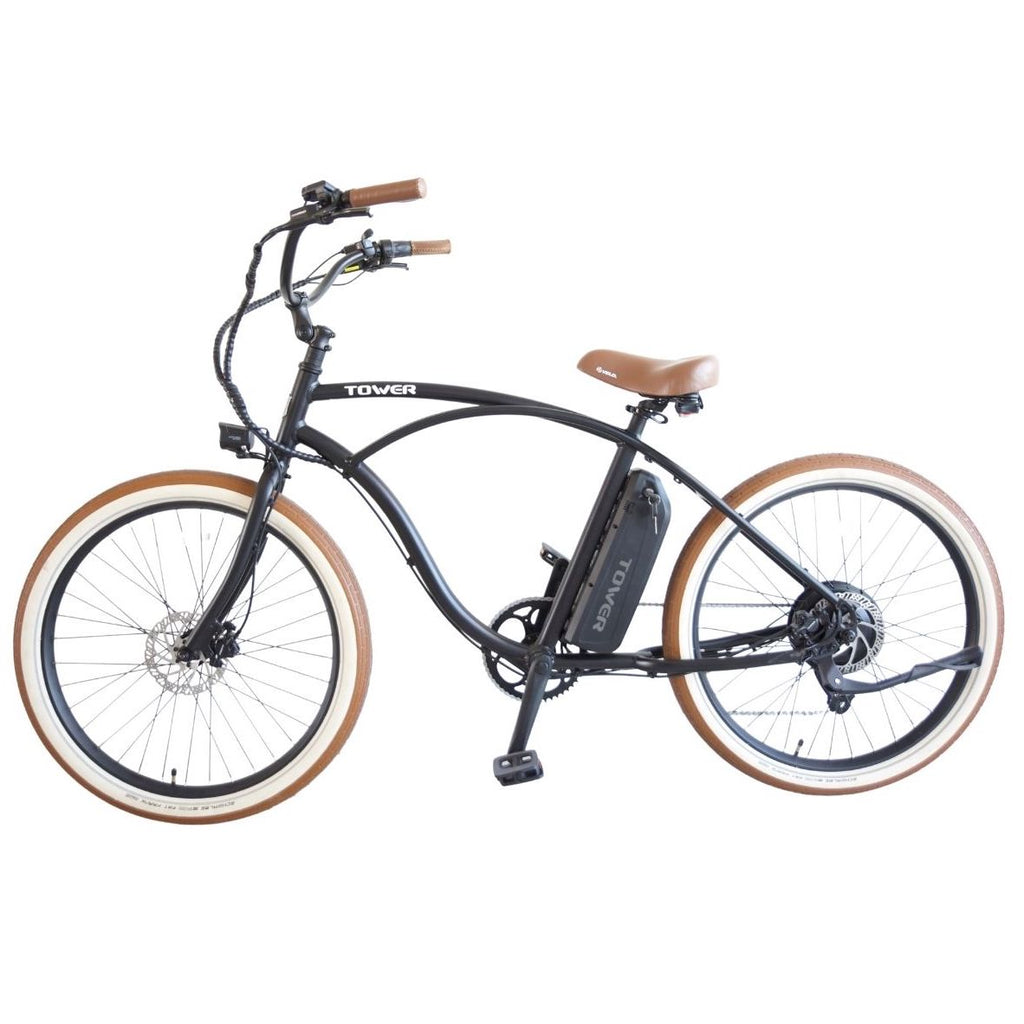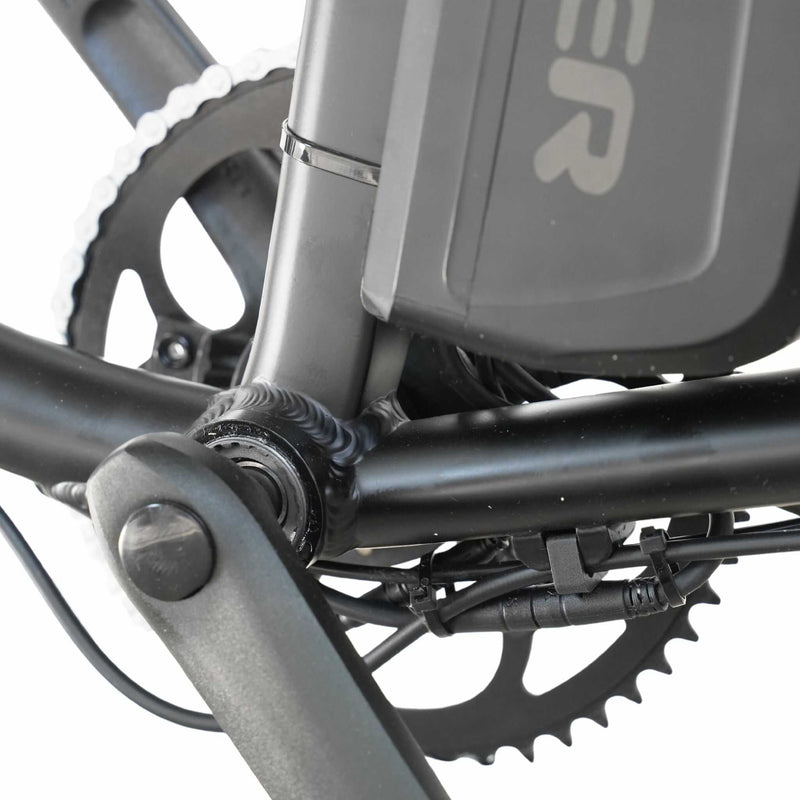
Your crankset are the arms that the pedals are mounted to, along with the front chainring. Just like the cassette in the back, the teeth on the chainring will get worn down over time and will need to be replaced. This guide will walk through how to replace both the right crank with chainring and the left crank arm.
Here is a video walking through the process:
Here are the tools needed for this:
- Park Tool CCP-22 Crank Puller
- 14mm Socket Wrench
- Pick Tool
- Soft hammer or Mallet (Optional)
The process for this is the same whether you are replacing the left or right crank.Here is the process:
- First, use your pick tool to remove the center cap on your crank arm.
- Once the center cap is removed, use your socket wrench to remove the retaining bolt.
- Once the retaining bolt is removed, it is time to use your crank puller. There are 2 parts to your crank puller. First, thread into the crank the larger piece with it almost fully unthreaded from the handle. Once that has been firmly threaded into the crank (make sure it is threaded in as far as it can go, we want an extremely good hold. If it is not threaded in enough, you could rip the threads out of the crank), it is time to start dialing in the crank puller itself. How the crank puller works is it threads on an attaches to the crank itself. Once threaded on, as you turn the inner piece of the crank puller, it pushes against the bottom bracket spindle and pushes the crank off of the bottom bracket. So after you have threaded the crank puller into the crank arm fully, begin to spin the crank puller to dial in the inner part. Eventually, you will come up to some resistance. Continue to turn the crank puller, as it is now pushing against the bottom bracket spindle. Depending on the condition and age of the bike, you may have to use a soft mallet or hammer to tap the crank puller around. As you turn the crank puller, you should notice it start to move off of the bottom bracket spindle. After a bit, the crank puller will get easier to turn and then the whole crank will fall off.
- With the old crank removed, it is now time to install the new crank arm. Slide the crank arm onto the bottom bracket spindle with it oriented the same way the old one came off.
- Now that the crank arm is slid over the spindle, start to thread in the retaining bottom bracket bolt. As you tighten this bolt, it will slide the crank arm further onto the bottom bracket spindle, holding it in place.
- Finally, once the bottom bracket retaining bolt is tightened down, just pop the center cap cover back on and you are all done!
After you have finished installing your crank arm, don’t forget to thread on your old pedals (or new pedals) into the new crank arms.
Everything DIY E-Bike Repairs
Homepage: eBike Repair Guide
eBike Repair Basics & Assembly
- eBike Specs and Walkthrough
- Tower eBike Serial Numbers
- Recommended Tools eBike Repairs at Home
- eBike Operation Guide
- Initial Build of a Tower eBike
- Tower eBike Torque Specs
- eBike Care and Maintenance
- Quick Reference eBike Repair Guide
eBike Brake System Service Guide
- eBike Hydraulic Brake System Introduction
- How to Adjust an eBike's Hydraulic Brakes
- How to True an eBike Rotor
- E-Bike Brake Rotor Install
- Brake Pad Install for E-Bikes
- How to Resurface eBike Brake Pads and Rotors
- How to Bleed Hydraulic Brakes on an eBike
eBike Drivetrain Service Guide
- How to Clean Your eBike Drivetrain
- Shifting Adjustment on an E-Bike
- Electric Bike Shifter Cable Install
- How to Install a New Chain on an eBike
- E-Bike Derailleur Installation
- Replace the Shifter on an E-Bike
- Replace an Electric Bike Cassette
- Crankset Install on an E-Bike
- E-Bike Derailleur Hanger Adjustment
- Installing Pedals on an Electric Bike
eBike Wheels & Tire Guide
- Flat Tire Repair on an Electric Bike
- New Tire Install on an Electric Bike
- Rear Wheel (with Hub Motor) Removal Guide
- How to True E-Bike Wheels
- Electric Bike Spoke Replacement
eBike Electric Repair Guide
- E-Bike Electrical System Overview
- Intro to Electrical Troubleshooting an eBike
- Methods of Electrical Troubleshooting an eBike
- Electric Bike Error Codes
- Electric Bike Battery Services
- Electric Bike Motor Issues
- E-Bike Will Not Power On
- Troubleshooting Pedal Assist on an E-Bike
- No Throttle Power eBike Troubleshooting
- E-Bike Does Not Pedal Assist or Throttle
- Intermittent Power Loss While Riding an eBike
Miscellaneous eBike Service Guide