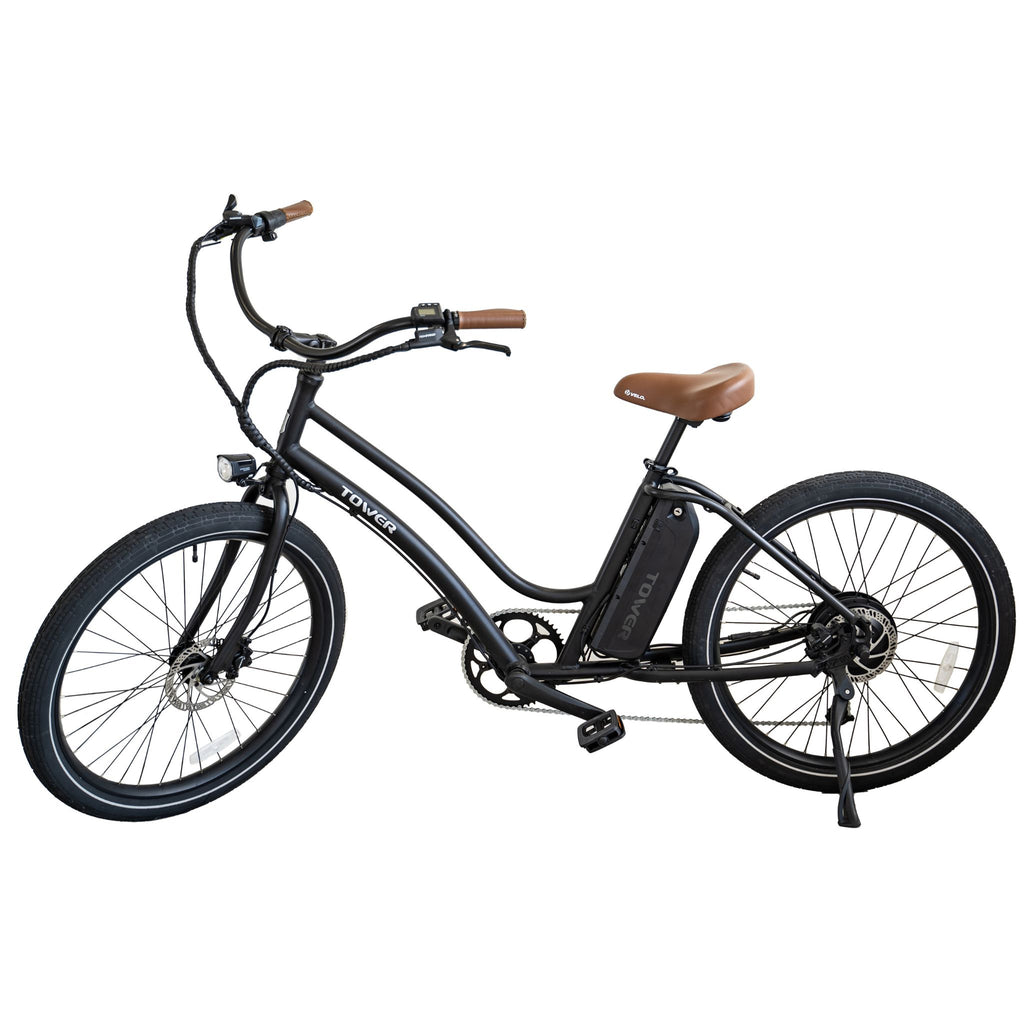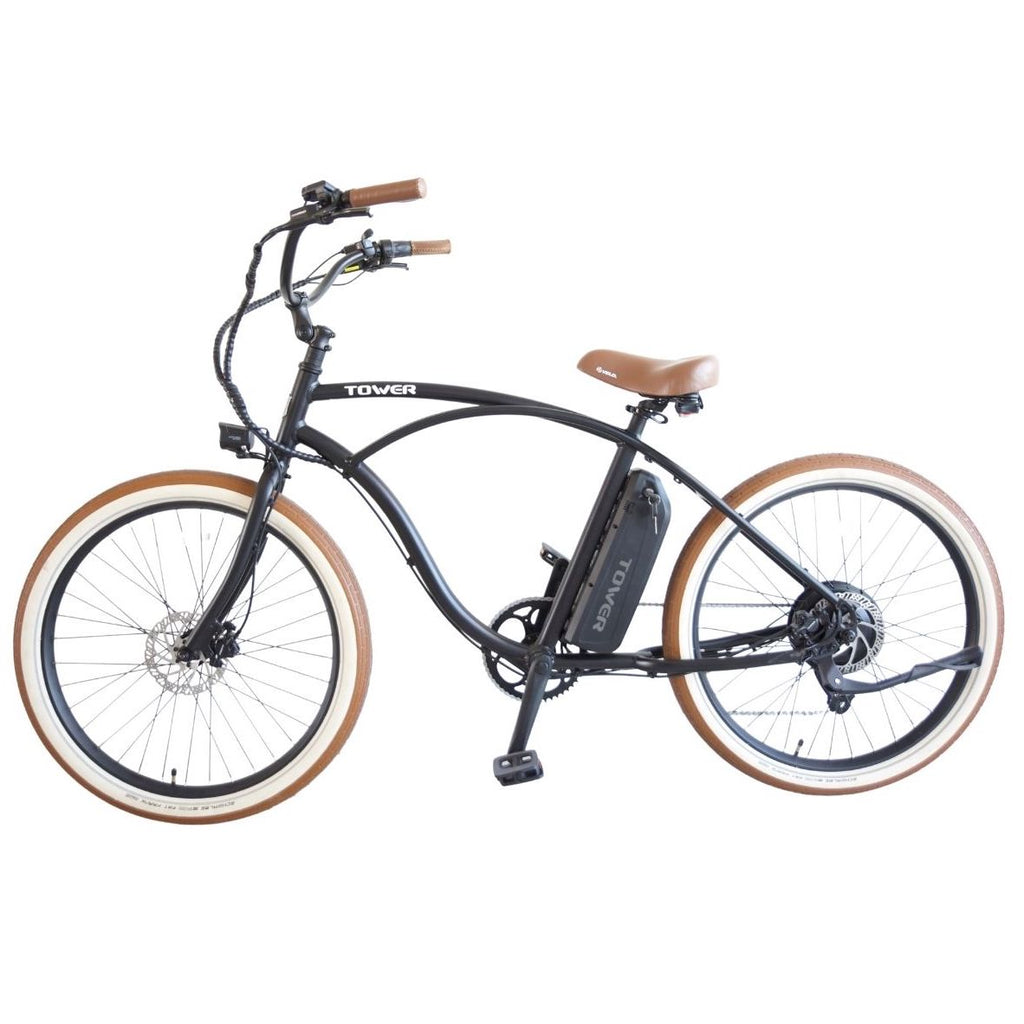
Your Tower electric bike only has one derailleur in the back, so if it has to be replaced, that would be the only one to worry about! You may need to swap your rear derailleur for many different reasons. It could be damaged from a crash, it could be worn from age, you may want to swap for a different derailleur. But whatever the reason, this guide will walk you through the process!
Here is a video walking through the process:
Here are the tools needed for this:
- 5mm Allen Key
- Phillips Head Screwdriver
- Chain Tool
- Cable Cutters
- Cable Puller (Optional)


Here is the process:
- The first step in our install process is to remove the old derailleur from the bike. However, to do this, we must first remove the chain. Grab any section of chain and attach it to the chain tool. Using the chain tool, push the pin out of position, but not all the way out. Once the pin is pushed out of position enough to separate the chain, separate the chain and pull it off of the bike (set it to the side as we will reinstall later).
- Once the chain is off, we can now take the old derailleur off. Using the 5mm allen key, loosen the cable hold to get the derailleur free from the cable. You can also cut the cable, as we will be installing a new cable anyway.
- Once the derailleur is free from the cable, go to the main mounting bolt and using your 5mm allen key, unmount the derailleur from the derailleur hanger.
- Once you remove that bolt, the old derailleur will now be unmounted from the bike.
- With the old derailleur removed, we should now remove the old cable so we can install the new one. At the shifter, you will see a little silver dot. This is where the cable routes through the shifter. Push from the other cable end to have the cable end poke out from the shifter. Once that bulb is out, pull the whole old cable out and dispose of it.
- In the same hole in the shifter we just removed the old cable from, push the new cable end through the shifter. It may take a few pushes to get it poking out of the cable opening, but it will pop through.
- Once the cable end has popped out, string the new cable through the housing and thread it through till it pops out in the rear of the bike.
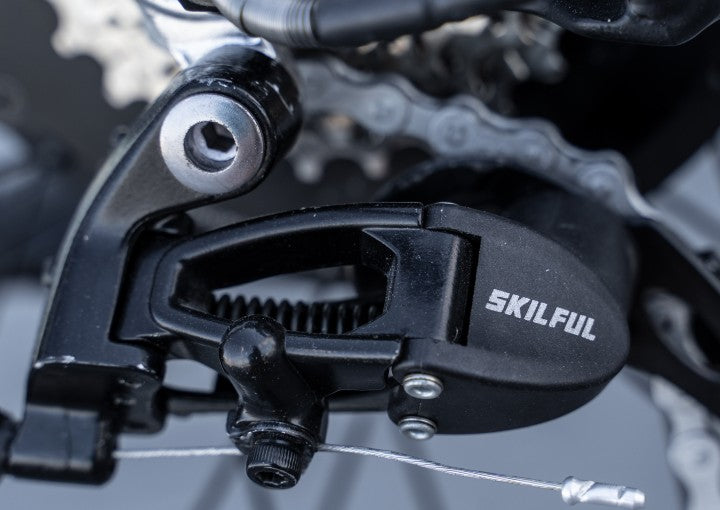
- With the new cable installed, it is now time to mount the new derailleur. The same way we took the old one off, we will thread the new one onto the derailleur hanger. You will also see a long black bolt that runs along the back of the derailleur, and you will also see a little tab at the end of the derailleur hanger (the silver part that hangs from the frame). Make sure that long bolt is resting against the tab at the bottom of the derailleur hanger.
- Once the derailleur hanger is installed, it is best to reinstall the chain. For a full process and visual of how to route the chain, please see our Chain Install section.
- Once the chain has been reinstalled, it is time to install the cable into the derailleur. Take the end of the cable and while pulling it taut, tuck in underneath the cable hold on the derailleur, exactly the same as you took the old one off.
- While keeping the cable taut, use a 5mm Allen key to tighten down the cable hold.
- Finally, follow our Shifting Adjustment guide to make sure the shifting dialed in.
- After the shifting has been dialed in, cut the excess cable, but be sure to leave a bit of extra cable past the derailleur so there is room to work if needed further down the line. Cover the end of the cable with a cable crimp to prevent cable fraying.
And with that, your new derailleur has been installed!
Everything DIY E-Bike Repairs
Homepage: eBike Repair Guide
eBike Repair Basics & Assembly
- eBike Specs and Walkthrough
- Tower eBike Serial Numbers
- Recommended Tools eBike Repairs at Home
- eBike Operation Guide
- Initial Build of a Tower eBike
- Tower eBike Torque Specs
- eBike Care and Maintenance
- Quick Reference eBike Repair Guide
eBike Brake System Service Guide
- eBike Hydraulic Brake System Introduction
- How to Adjust an eBike's Hydraulic Brakes
- How to True an eBike Rotor
- E-Bike Brake Rotor Install
- Brake Pad Install for E-Bikes
- How to Resurface eBike Brake Pads and Rotors
- How to Bleed Hydraulic Brakes on an eBike
eBike Drivetrain Service Guide
- How to Clean Your eBike Drivetrain
- Shifting Adjustment on an E-Bike
- Electric Bike Shifter Cable Install
- How to Install a New Chain on an eBike
- E-Bike Derailleur Installation
- Replace the Shifter on an E-Bike
- Replace an Electric Bike Cassette
- Crankset Install on an E-Bike
- E-Bike Derailleur Hanger Adjustment
- Installing Pedals on an Electric Bike
eBike Wheels & Tire Guide
- Flat Tire Repair on an Electric Bike
- New Tire Install on an Electric Bike
- Rear Wheel (with Hub Motor) Removal Guide
- How to True E-Bike Wheels
- Electric Bike Spoke Replacement
eBike Electric Repair Guide
- E-Bike Electrical System Overview
- Intro to Electrical Troubleshooting an eBike
- Methods of Electrical Troubleshooting an eBike
- Electric Bike Error Codes
- Electric Bike Battery Services
- Electric Bike Motor Issues
- E-Bike Will Not Power On
- Troubleshooting Pedal Assist on an E-Bike
- No Throttle Power eBike Troubleshooting
- E-Bike Does Not Pedal Assist or Throttle
- Intermittent Power Loss While Riding an eBike
Miscellaneous eBike Service Guide