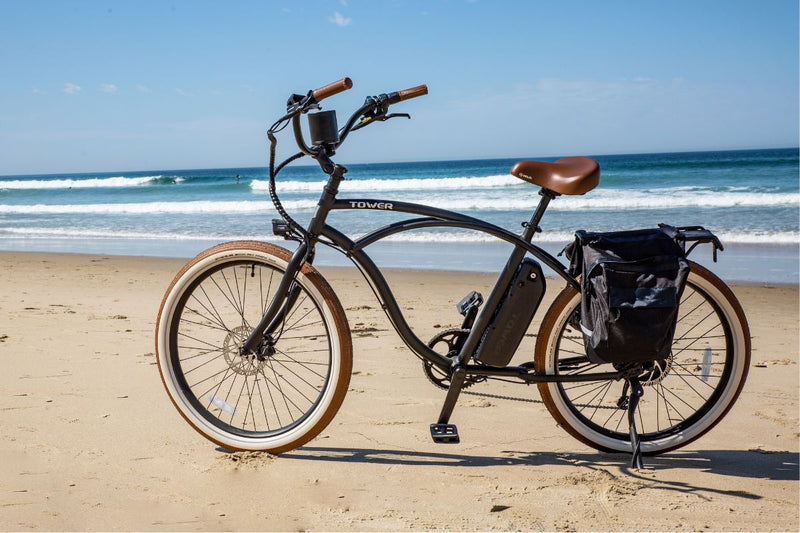
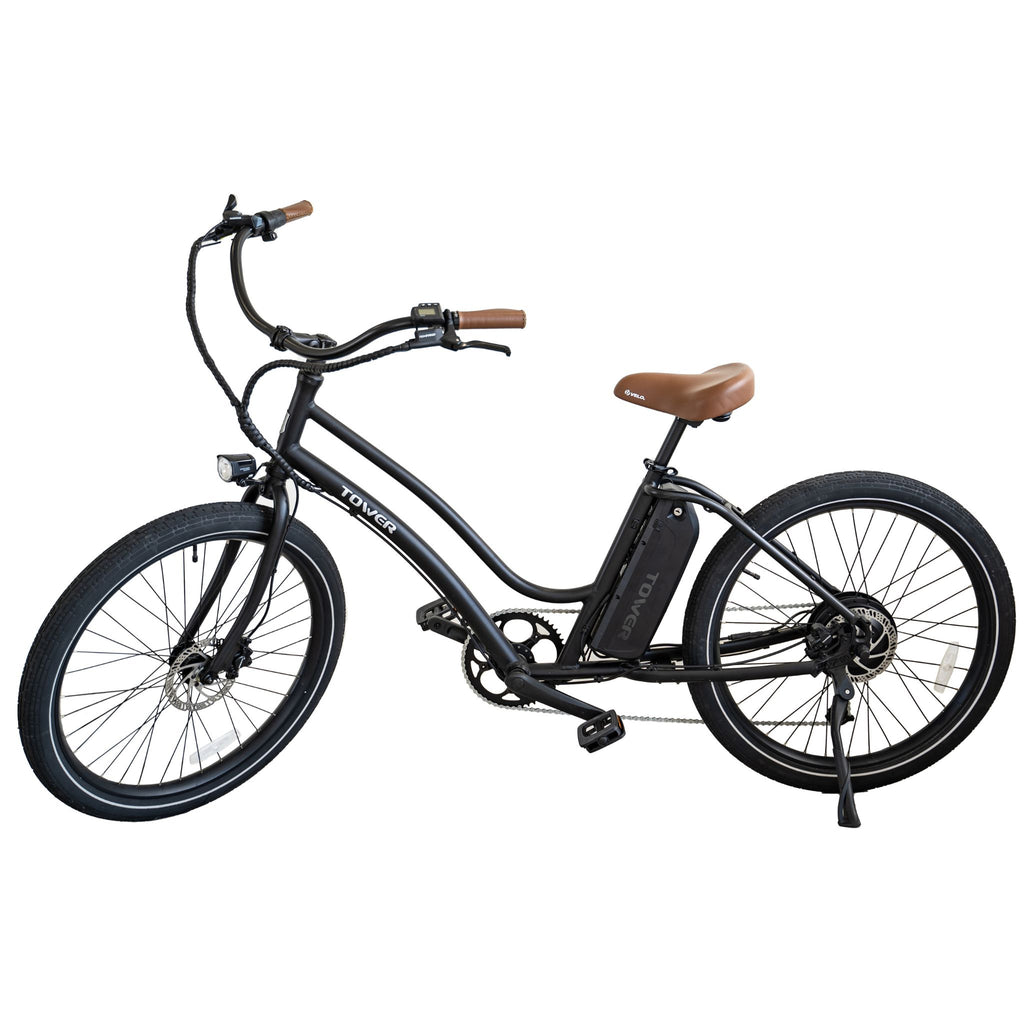
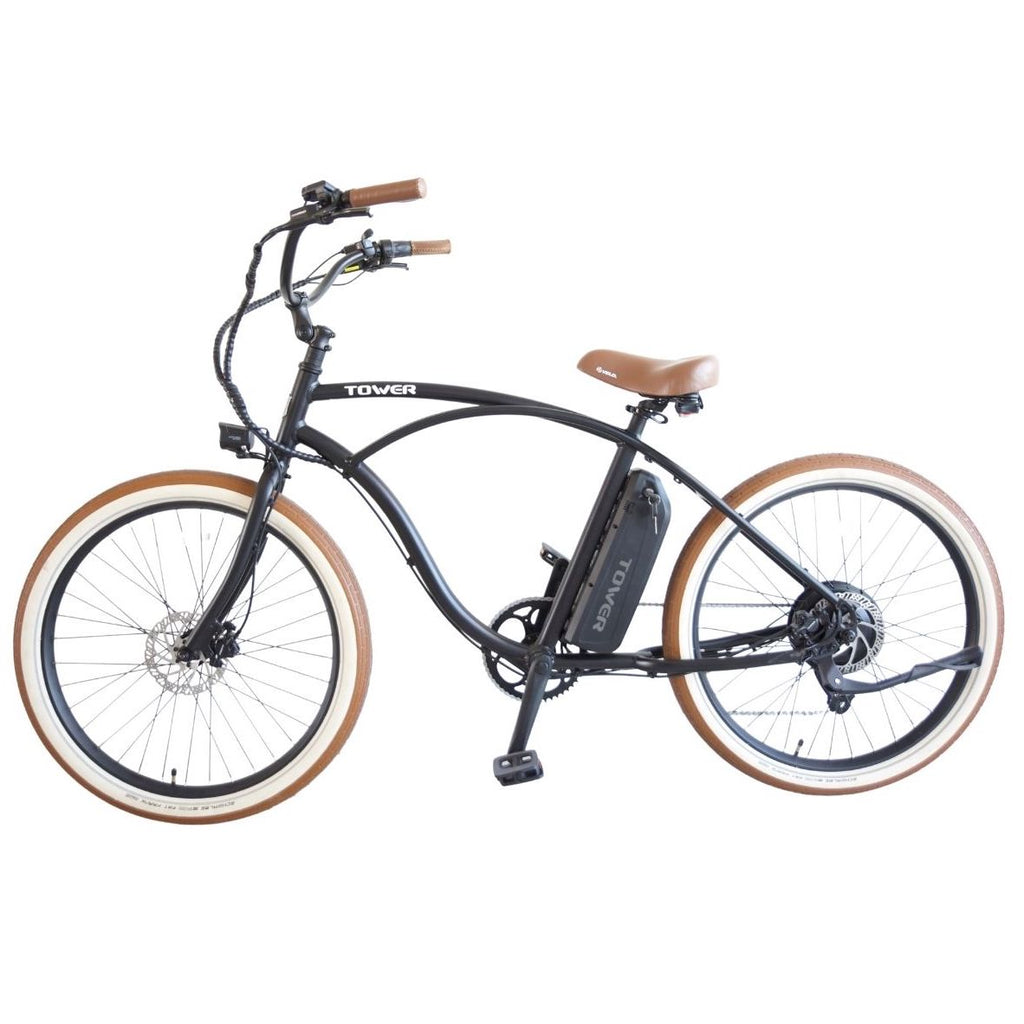
Installing a rear rack on your Tower electric bike can open up being able to carry cargo and mount various bags to your bike. Most disc brake specific racks will work with your Tower electric bike, but we do have a few we recommend, which are for sale on our website. This guide will walk you through how to install these racks.
Here is a video walking through the process:
Tools needed for this are:
- 4mm Allen Key
- 5mm Allen Key
- 10mm Wrench
Here is the process:
- The first thing that should be done to mount a rear rack to your Tower ebike is to attach the support legs to the frame. You will see 2 small threaded holes near the rear wheel dropouts. There are the same mounts on either side of the frame. The upper of these mount holes is where we will attach the rack support legs. Slide the support legs over the frame and align the holes over the threaded frame mounts. Depending on the rack, you may have to stretch the rack support legs over the frame.
- Once the rack support legs are in place, use the appropriate bolts (which bolts they are will depend on the rear rack you use) and your 4mm allen key to thread them through the support legs and into the frame. Do not fully tighten them down yet.
- Next, we need to mount the support arm bracket. With your rack parts, there would be a long metal “U” shaped piece with holes on either side and a hole in the center. Using the appropriate hardware, mount the support arms of the rack to the outer holes on this “U” shaped piece.
- With the support arm bracket installed, we will not finish mounting the rack to the frame. Using the appropriate bolt, mount the “U” shaped support arm bracket to the arch in the frame near the rear of the seat. You will see a holt in the top of this arch. This hole would have a thread inside that you will use to attach the support arm bracket.
- Now that the support arm bracket has been mounted, it is time to tighten all of the bolts down. Make sure your rack is level and in the position you want before tightening everything down. Also, do not forget to tighten the support arms to the rack themselves. There would be bolts located on top of or underneath the rack that would tighten and hold them in place.
After all of the bolts are tightened, your rear rack is now installed! Be sure to pay attention to the rack weight capacity. Racks of this style are typically not meant for a human rider to sit on them. There are some kids seats that mount this way, but if in doubt, always go by the weight rating.
Please note: If you are using a rear rack and fenders at the same time, you will need a special bolt from us. The fenders and rear rack use the same hole to mount to the frame, and without this bolt, they will hutt against each other and not mount properly.
Everything DIY E-Bike Repairs
Homepage: eBike Repair Guide
eBike Repair Basics & Assembly
- eBike Specs and Walkthrough
- Tower eBike Serial Numbers
- Recommended Tools eBike Repairs at Home
- eBike Operation Guide
- Initial Build of a Tower eBike
- Tower eBike Torque Specs
- eBike Care and Maintenance
- Quick Reference eBike Repair Guide
eBike Brake System Service Guide
- eBike Hydraulic Brake System Introduction
- How to Adjust an eBike's Hydraulic Brakes
- How to True an eBike Rotor
- E-Bike Brake Rotor Install
- Brake Pad Install for E-Bikes
- How to Resurface eBike Brake Pads and Rotors
- How to Bleed Hydraulic Brakes on an eBike
eBike Drivetrain Service Guide
- How to Clean Your eBike Drivetrain
- Shifting Adjustment on an E-Bike
- Electric Bike Shifter Cable Install
- How to Install a New Chain on an eBike
- E-Bike Derailleur Installation
- Replace the Shifter on an E-Bike
- Replace an Electric Bike Cassette
- Crankset Install on an E-Bike
- E-Bike Derailleur Hanger Adjustment
- Installing Pedals on an Electric Bike
eBike Wheels & Tire Guide
- Flat Tire Repair on an Electric Bike
- New Tire Install on an Electric Bike
- Rear Wheel (with Hub Motor) Removal Guide
- How to True E-Bike Wheels
- Electric Bike Spoke Replacement
eBike Electric Repair Guide
- E-Bike Electrical System Overview
- Intro to Electrical Troubleshooting an eBike
- Methods of Electrical Troubleshooting an eBike
- Electric Bike Error Codes
- Electric Bike Battery Services
- Electric Bike Motor Issues
- E-Bike Will Not Power On
- Troubleshooting Pedal Assist on an E-Bike
- No Throttle Power eBike Troubleshooting
- E-Bike Does Not Pedal Assist or Throttle
- Intermittent Power Loss While Riding an eBike
Miscellaneous eBike Service Guide


