While there are no cables to replace on your hydraulic brakes, they still will need service from time to time. The biggest of these services would be a hydraulic brake bleed. As you ride, the fluid in your brakes will need to be replaced, as it can get dirty and air bubbles can work their way in. When the fluid gets dirty and air gets in, the brakes will not feel the same. The best way to describe the feeling is “spongy”. They will not feel tight and crisp. This guide will walk through how to properly bleed your brakes and help them feel like new again.
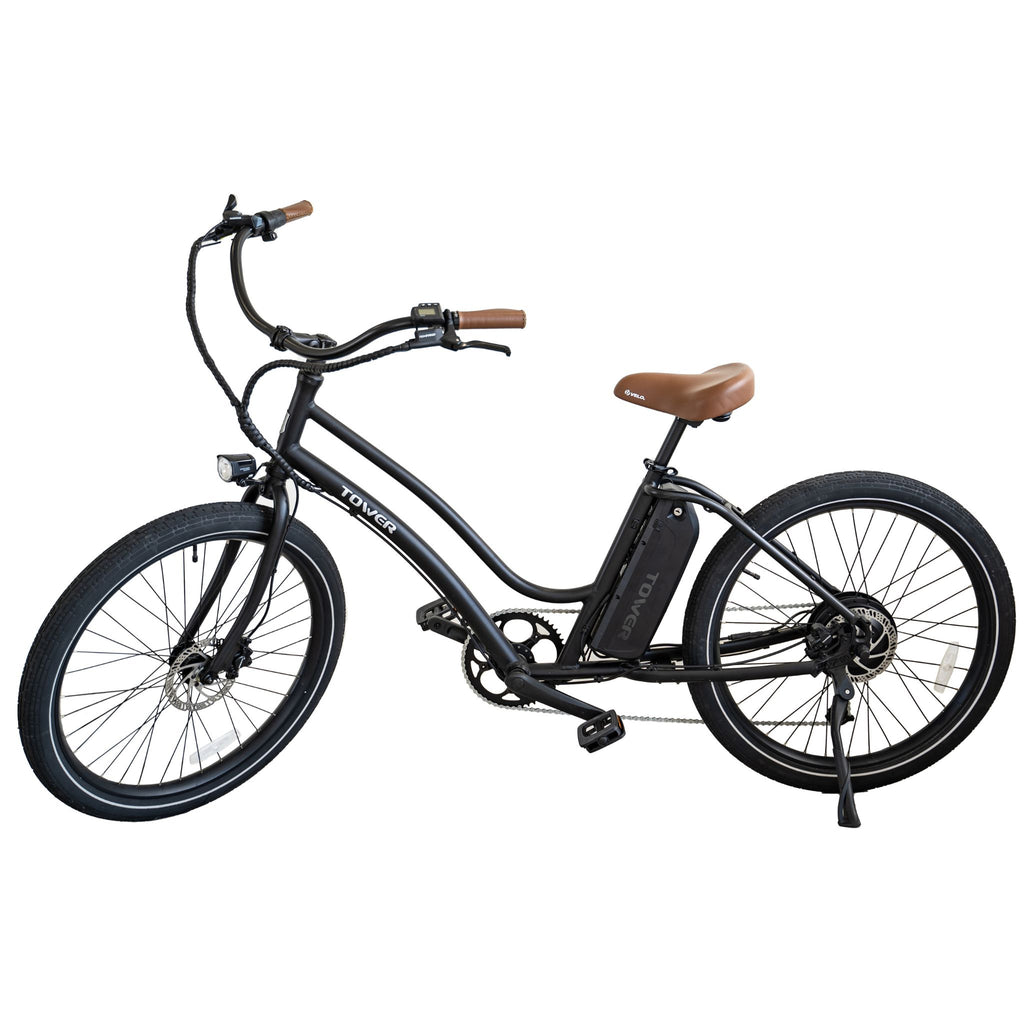
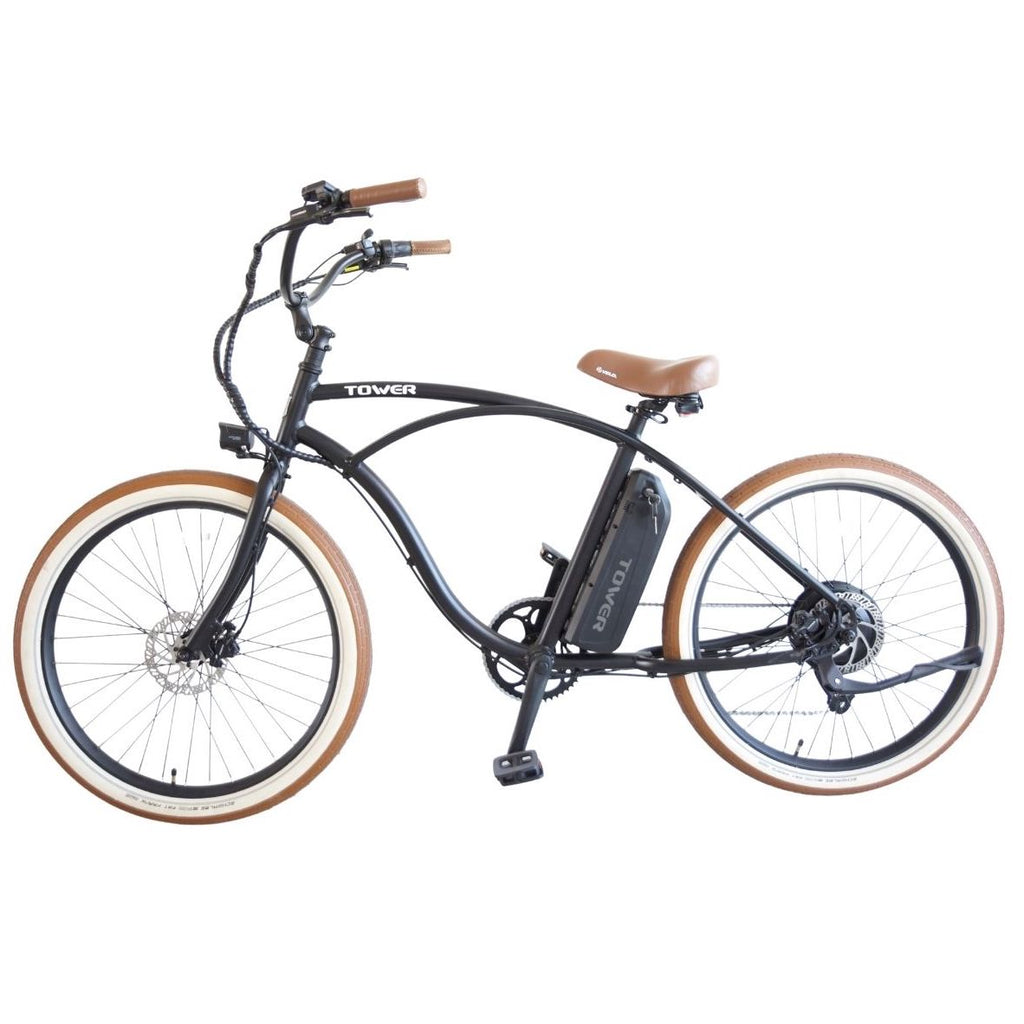
Please note, this process is only for the Tektro Hydraulic Brakes that come on our Tower Ebikes. Other brands of brakes will have their own process and tools.
Here is a video walking through this process:
Tools needed for this are:
- Tektro Specific Bleed Kit
- Mineral Oil
- Torx Key Set
- Piston Press
- Cloths/Rags
Here is the process:
- The first step in bleeding your brakes is to put your bike into a work stand. We will need to rotate the bike a bit, so being able to put your bike in a work stand is a must for this service.
- Next, remove whoever wheel you are going to bleed the brake on. The fluids used in a bleed can contaminate the rotor, and we will need access to the brake caliper, so it is best to remove the wheel.
- With the wheel now removed, set the bike in a position that will put the braking system vertical. We want the air bubbles to travel upwards and out. If it is the front, it will not need much rotation, but if it is the rear, it will need a bit more rotation to get the brakes aligned right.
- Once the brakes are aligned properly, rotate the brake lever you are bleeding so it is lying flat with the bleed port level and facing up.
- After the brake lever has been rotated, remove the brake pads from the caliper and set them to the side (we do not want them anywhere near the bleeding process or tools).
- Use your piston press to reset and push the pistons in the caliper.
- With the pistons pushed back in, you will install the bleed block. These should be included in your Tektro Bleed kit. Just slide the proper block into the caliper. This part holds the pistons in place while bleeding.
- Assemble your bleed syringes with the proper hoses and fittings (refer to the instructions of your bleed kit for the proper ends to use).
- Fill the syringe that will be going to your caliper with the mineral oil.
- Rotate the syringe upside down so all of the fluid goes to the bottom and then suck some more air in. Then, push all of the air out until the fluid just squirts out. We want no air bubbles in our line.
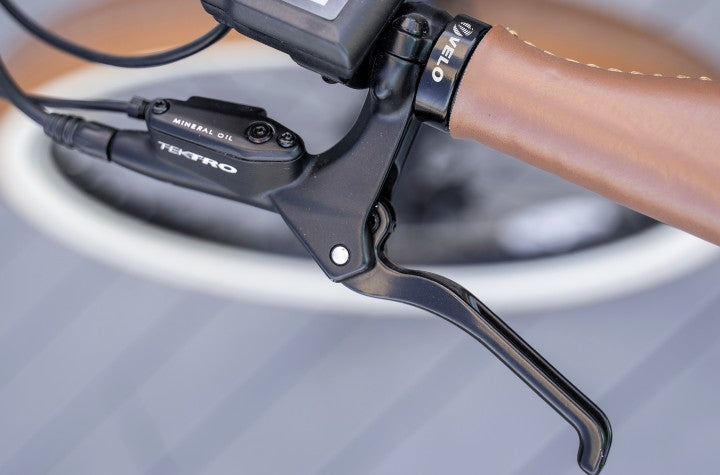
- Using your T15 Torx key, remove the bleed port on the brake lever at the handlebars (see picture for details).
- Install and thread the empty syringe into the now open bleed port.
- Pull back slightly on the syringe to create a vacuum in the system.
- Use your T15 Torx key at the caliper to remove the bleed port (see picture for details).
- Thread the full syringe into the caliper.
- Push down on the syringe at the caliper with the fluid in it. While you are pressing, slightly pull up in the syringe at the brake lever. If the fluid that came out was black/discolored, dispose of the fluid and refill.
- Push back down with the syringe at the lever, while slightly pulling up on the syringe at the caliper. Continue this cycle until no air bubbles are visible in the lines.
- Disconnect the syringe at the brake caliper and reinstall the bleed port cover.
- Disconnect the syringe from the brake lever and reinstall the bleed port screw.
- Remove bleed blocks from the caliper.
- Wipe down the caliper with a rag to clean up any excess/spilled mineral oil.
- With the caliper clean, reinstall the brake pads.
- Reinstall the wheel that was moved for the bleed process.
Your brakes will now be bled and good to go! If they are leaking any fluid, find where it is leaking from and tighten down any loose bleed ports. If your brake has low power, something did not go correctly in the process and you will need to start again from the beginning.
Everything DIY E-Bike Repairs
Homepage: eBike Repair Guide
eBike Repair Basics & Assembly
- eBike Specs and Walkthrough
- Tower eBike Serial Numbers
- Recommended Tools eBike Repairs at Home
- eBike Operation Guide
- Initial Build of a Tower eBike
- Tower eBike Torque Specs
- eBike Care and Maintenance
- Quick Reference eBike Repair Guide
eBike Brake System Service Guide
- eBike Hydraulic Brake System Introduction
- How to Adjust an eBike's Hydraulic Brakes
- How to True an eBike Rotor
- E-Bike Brake Rotor Install
- Brake Pad Install for E-Bikes
- How to Resurface eBike Brake Pads and Rotors
- How to Bleed Hydraulic Brakes on an eBike
eBike Drivetrain Service Guide
- How to Clean Your eBike Drivetrain
- Shifting Adjustment on an E-Bike
- Electric Bike Shifter Cable Install
- How to Install a New Chain on an eBike
- E-Bike Derailleur Installation
- Replace the Shifter on an E-Bike
- Replace an Electric Bike Cassette
- Crankset Install on an E-Bike
- E-Bike Derailleur Hanger Adjustment
- Installing Pedals on an Electric Bike
eBike Wheels & Tire Guide
- Flat Tire Repair on an Electric Bike
- New Tire Install on an Electric Bike
- Rear Wheel (with Hub Motor) Removal Guide
- How to True E-Bike Wheels
- Electric Bike Spoke Replacement
eBike Electric Repair Guide
- E-Bike Electrical System Overview
- Intro to Electrical Troubleshooting an eBike
- Methods of Electrical Troubleshooting an eBike
- Electric Bike Error Codes
- Electric Bike Battery Services
- Electric Bike Motor Issues
- E-Bike Will Not Power On
- Troubleshooting Pedal Assist on an E-Bike
- No Throttle Power eBike Troubleshooting
- E-Bike Does Not Pedal Assist or Throttle
- Intermittent Power Loss While Riding an eBike
Miscellaneous eBike Service Guide