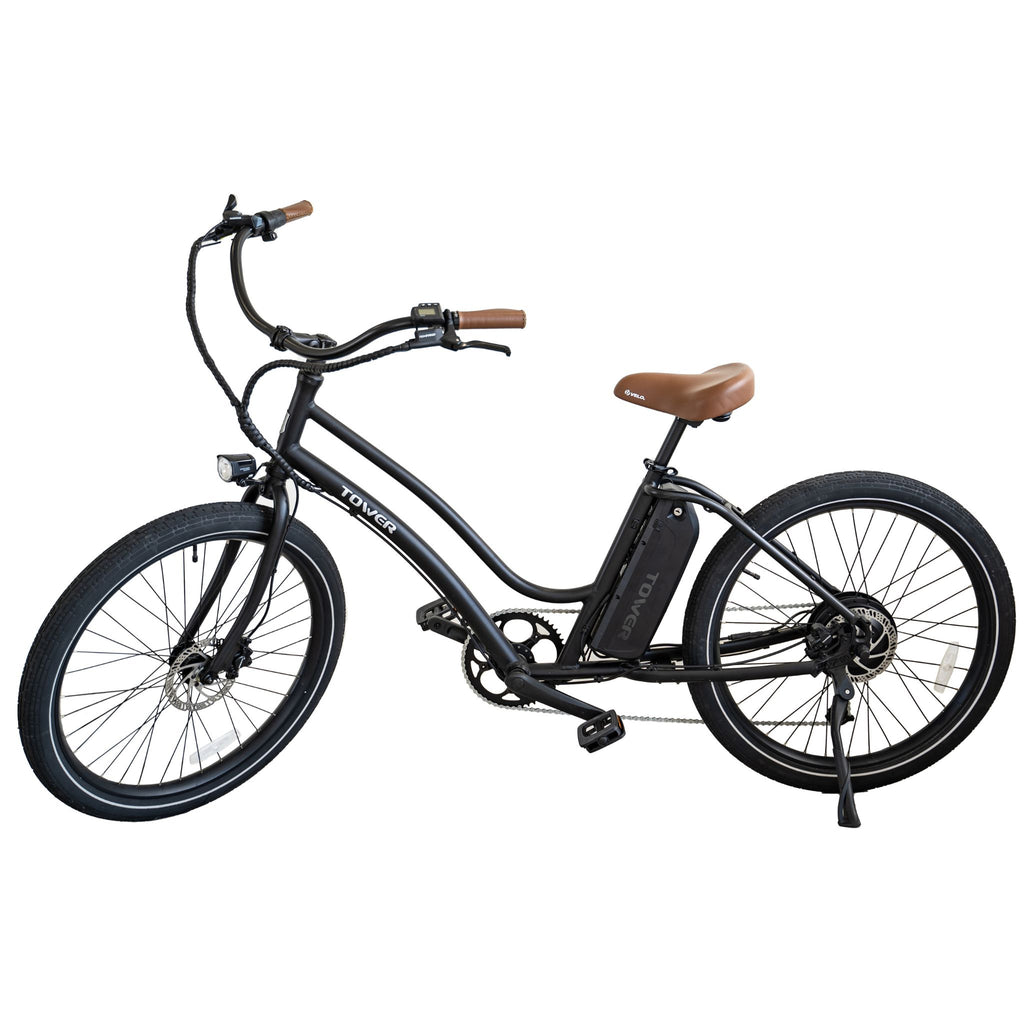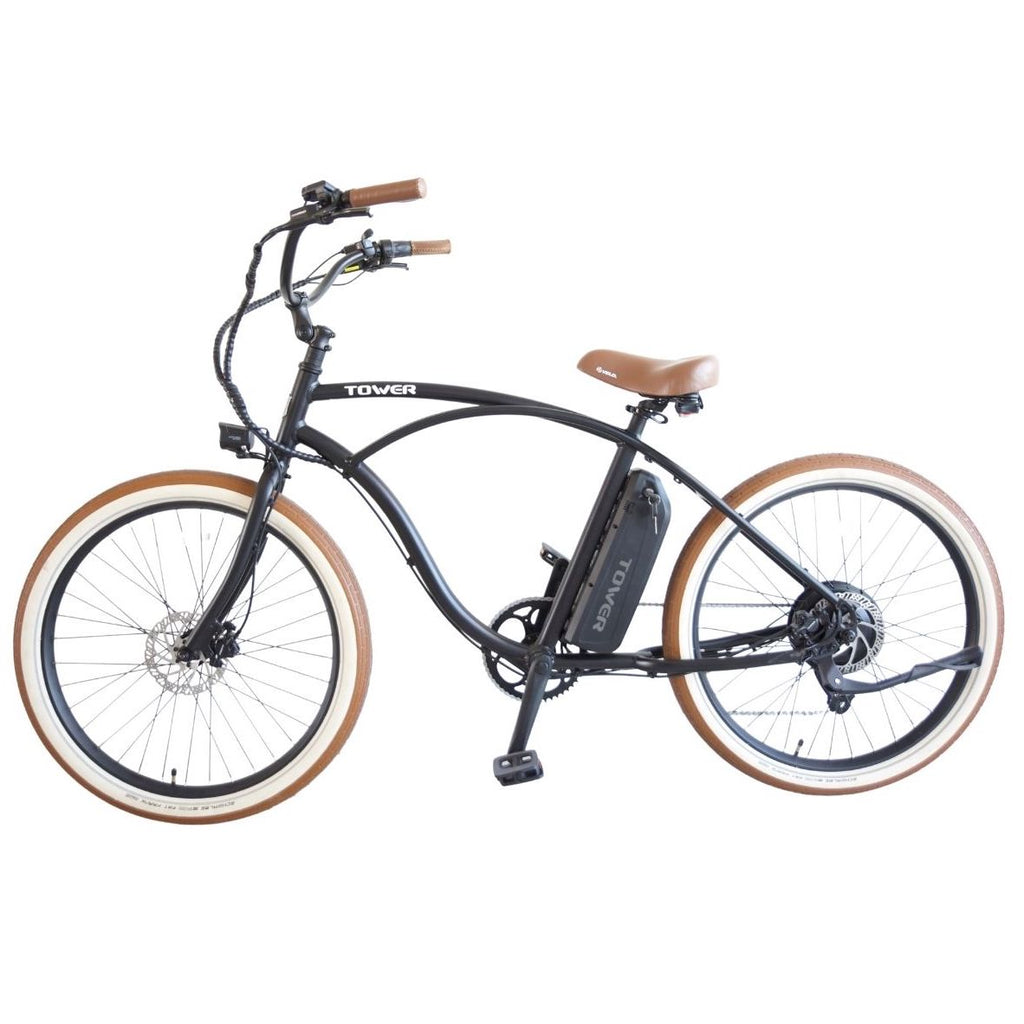
The derailleur hanger is the small silver piece that mounts to the frame and the derailleur mounts to it. Originally, derailleur hangers used to be a part of the frame on a bike, but being a small piece of metal that hangs off of the back of the bike, it was prone to damage. But because it was a part of the frame, when it broke, the frame would be done. This is why on modern bicycles, the derailleur hanger is a separate, replaceable piece. However, depending on how much it was bent or damaged, it is possible to straighten it out, and this guide will walk you through how to do that!
Here are the tools needed for this:
- 5mm Allen Key
- Derailleur Alignment Guide OR Adjustable Spanner
- Cloth (if using adjustable spanner)

Here is the process:
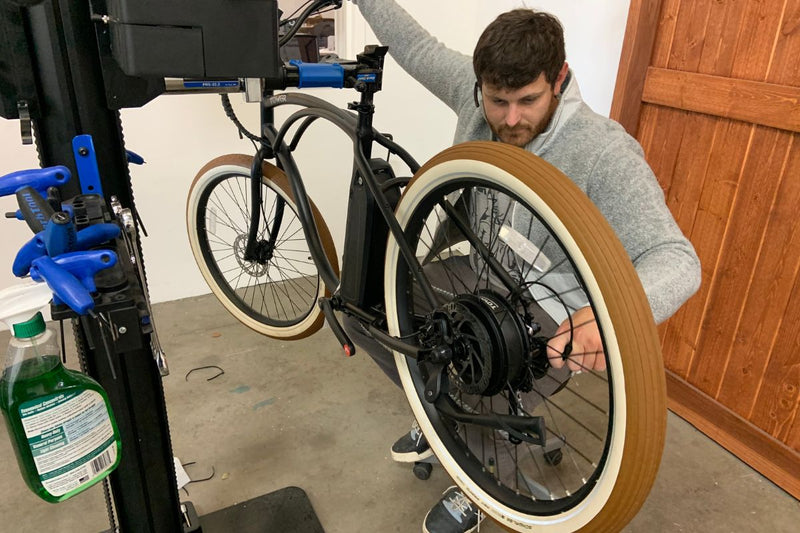
- To straighten your derailleur hanger, we must first remove the derailleur. Take your 5mm Allen Key and use it to remove the derailleur from the derailleur hanger (see picture below).
- Once you have unmounted the derailleur from the hanger, just let it hang on the chain.
- It is now time to straighten the derailleur hanger.
- If you are using a derailleur alignment gauge, thread it into the spot where you removed the derailleur from. Use the bar gauge and set it close to the wheel rim. Rotate it around to the opposite side and take note of its position. If it is far away from the rim, then we need to bend the original side back. If it is too close to the rim, then we need to bend it at that spot. Be sure to bend it lightly, as a little bit can go a long way for the derailleur hanger. Continue doing this around the whole wheel until it is uniform. You can also just look at it from directly behind the bike and see which direction it needs to be bent. It does not have to be microscopically straight, it just has to line up straight enough for the derailleur to be aligned properly.
- If you are just using an adjustable spanner, look at the back of the bike and see which way the derailleur hanger is bent. Once you have taken a mental note of which way it needs to go, wrap the cloth around the derailleur hanger and tighten the spanner onto the hanger. Bend it lightly in the direction needed, and then check your progress. It does not take a lot to bend the hanger back into place, so a light tug in the proper direction is usually enough.
- Once you have straightened your derailleur hanger, use your 5mm allen key to remount the derailleur to the hanger. Be sure that the B-Limit screw on the back rests against the little knob at the end of the derailleur hanger.
After you have finished remounting your derailleur, you would be all set! To make sure it is functional, shift through all of the gears and make sure it goes into all of the gears properly.
Everything DIY E-Bike Repairs
Homepage: eBike Repair Guide
eBike Repair Basics & Assembly
- eBike Specs and Walkthrough
- Tower eBike Serial Numbers
- Recommended Tools eBike Repairs at Home
- eBike Operation Guide
- Initial Build of a Tower eBike
- Tower eBike Torque Specs
- eBike Care and Maintenance
- Quick Reference eBike Repair Guide
eBike Brake System Service Guide
- eBike Hydraulic Brake System Introduction
- How to Adjust an eBike's Hydraulic Brakes
- How to True an eBike Rotor
- E-Bike Brake Rotor Install
- Brake Pad Install for E-Bikes
- How to Resurface eBike Brake Pads and Rotors
- How to Bleed Hydraulic Brakes on an eBike
eBike Drivetrain Service Guide
- How to Clean Your eBike Drivetrain
- Shifting Adjustment on an E-Bike
- Electric Bike Shifter Cable Install
- How to Install a New Chain on an eBike
- E-Bike Derailleur Installation
- Replace the Shifter on an E-Bike
- Replace an Electric Bike Cassette
- Crankset Install on an E-Bike
- E-Bike Derailleur Hanger Adjustment
- Installing Pedals on an Electric Bike
eBike Wheels & Tire Guide
- Flat Tire Repair on an Electric Bike
- New Tire Install on an Electric Bike
- Rear Wheel (with Hub Motor) Removal Guide
- How to True E-Bike Wheels
- Electric Bike Spoke Replacement
eBike Electric Repair Guide
- E-Bike Electrical System Overview
- Intro to Electrical Troubleshooting an eBike
- Methods of Electrical Troubleshooting an eBike
- Electric Bike Error Codes
- Electric Bike Battery Services
- Electric Bike Motor Issues
- E-Bike Will Not Power On
- Troubleshooting Pedal Assist on an E-Bike
- No Throttle Power eBike Troubleshooting
- E-Bike Does Not Pedal Assist or Throttle
- Intermittent Power Loss While Riding an eBike
Miscellaneous eBike Service Guide