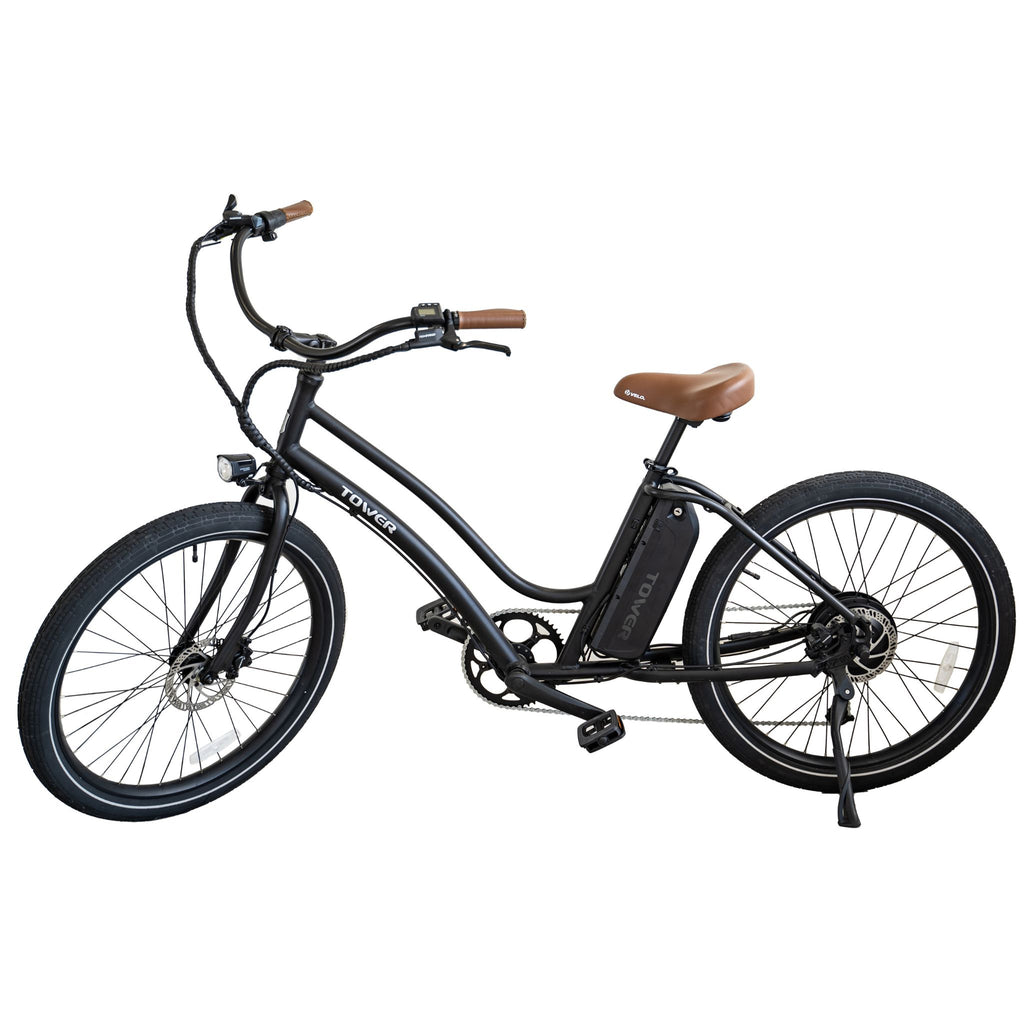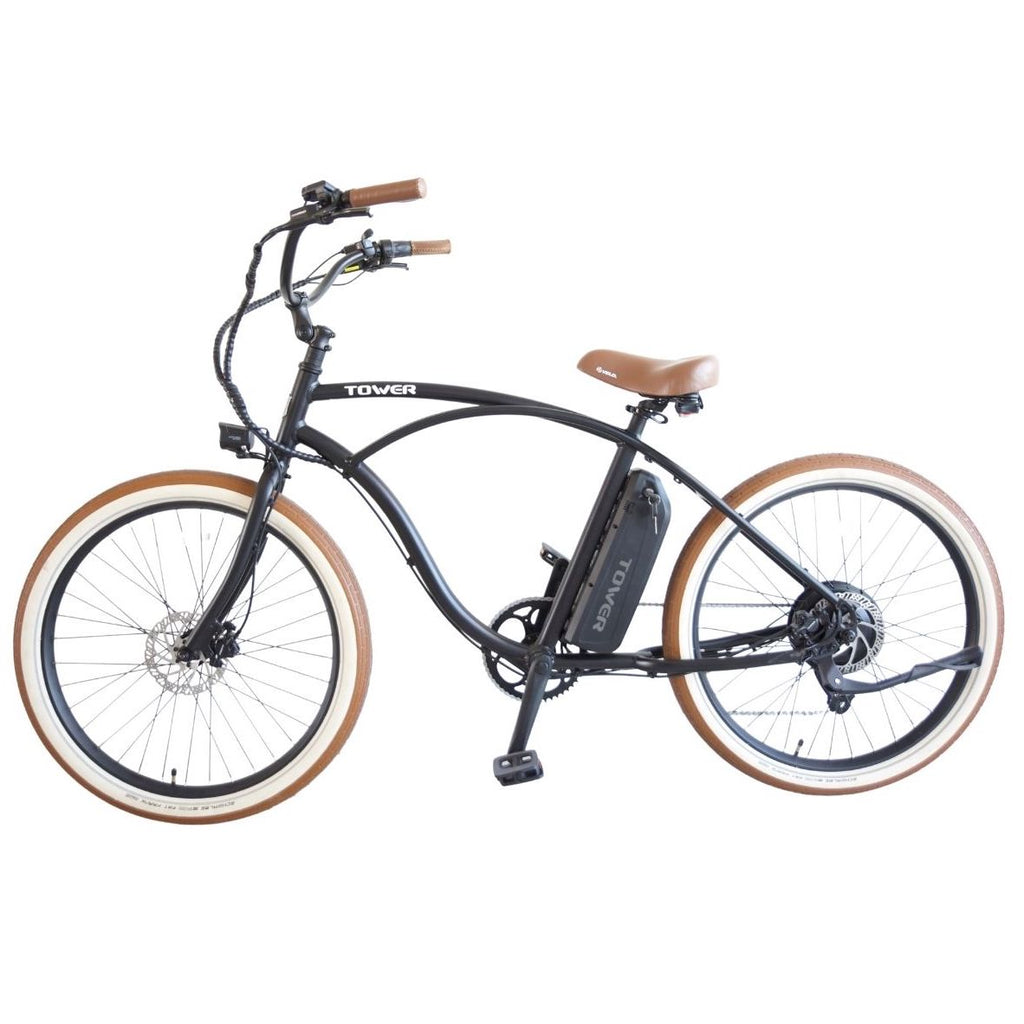
We are going to be showing you how to install fenders on the Tower Electric Beach Bum Bike. You can order a set of the beach cruiser fenders we will use as an example on our website. The fender package will come with the front and rear fenders, two support bars, and several small bags containing brackets and bolts you will need to install them.
The front and rear fenders can easily be differentiated from one another. The front is smaller and has a little notch on the top. The rear fender, on the other hand, is bigger and has a full and slick top.
Tools Needed
For the tools, we will need a 4mm and 3mm allen key to assemble and mount the fenders. Additionally, we will also need an 18mm, 15mm, and 10mm wrench to remove the wheel and other parts of the bike to make the installation easier.
Front Fender Installation
Before installing the front fender, we will have to first remove the front tire. We will use the 15mm wrench to loosen the bolt in the fork and remove the front wheel off. It is much easier to install the fenders with the wheel off as you will have ample space to work around with.
We will then have to assemble the front fender. There are two holes on its back where the support bar will be installed. From the pack, we will need to take one pair of brackets (one silver, and one black). The raised edges of the silver bracket will slot right into the holes underneath the fender.
We will then have to take a support bar and place it right in the middle of the two holes. The two support bars are exactly the same, so you don’t have to worry about mixing them up. Once the support is in position, we will place the black bracket right on top of it and align the holes. The black bracket will clamp down on the fender. We will use two of the smaller bolts to secure the bracket and support bar. At this stage, we can just keep the bolts loose and we don’t have to worry about the positioning of the support bar as we will adjust it later on.
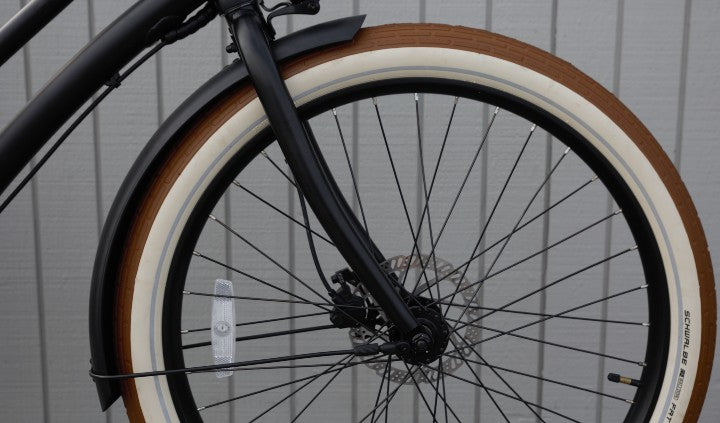
After the front fender is assembled, we can now place it into the bike. The fender is going right in the middle of the front fork and the little notch on its top will slot right underneath where the ebike headlight is also secured into.
We will need to remove the headlight by using a 4mm allen key and 10mm wrench. The allen key will slot in the front and hold the bolt in place as the 10mm wrench loosens the nut on the back. We will then pull the whole bolt out and we can proceed to positioning the front fender in place. We will put the notch of the fender right against the hole on the front of the fork. After which, we will place back the headlight with the bolt and thread it right into the notch and fork hole. Always remember to push it all the way up to prevent the fender from rubbing against the tire. Once it is threaded through and the parts are properly aligned, we will then tighten it down with the same alley key and wrench we used before.
For the support arms, they will be attached on the threaded holes at the bottom of both sides of the fork. We will use the bigger and longer bolts to secure them in place. We recommend doing the left side with the caliper first because it has a lot more components that might get in the way. If the right side is installed first, you might have a hard time installing the left side. Once the support arms are secured, be sure to also tighten the bolts on the bracket at the back of the fender.
Finally, we will then have to re-install the front wheel. We must make sure that the washer is on the outside as we tighten the front wheel axle. Once we have the wheel in place, we need to give it a spin and check that the fender doesn’t make contact with it anywhere. If it does, we will have to readjust the fender until it doesn’t rub on the wheel.
Rear Fender
We would also need to remove the rear wheel before we can install the rear fender. Before taking it off however, it is very important that we unplug the motor cable. You don’t want to remove the wheel and tug it off, and then find out that the cable is still connected and potentially damage them. The cable is also attached to a frame clip, so be sure to also pop it off from there.
For the next part, we're going to remove the rubber caps off of our wheel just so we can access the axle nut. Once they are off, we can proceed to loosening and taking off the rear wheel. When removing the rear wheel, we must remember the spacing and stack order of the washers and spacers. The placement is very crucial when putting the wheel back on for everything to line up and work properly. Once the wheel is off, we can place it on the side and shift our focus on the rear fender.
Like what we did with the front, we will first need to assemble the rear fender before installing it in place. We will need another pair of brackets to mount the support bar on the fender. The silver bracket attaches underneath the two holes of the fender, and the support bar will be positioned on top and in between the two holes. It will then be secured in place by the black bracket and two of the smaller bolts.
However, unlike the front, the rear fender has a few more mounting points to the frame. The first spot is found right through the wheel slot, which is just near the bottom of the battery bracket. The second spot is on the upper bridge. The third and fourth spots are for the support arms which will thread into the small holes near the position of the frame where the hub of the rear wheel goes. There are two sets of holes there which are intended for the installation of generic bike rack and fender support arms. They are not particular and whichever pair can be used to connect the support arms into the frame, but if you are also planning to install a rack then its best to use the bottom pair of holes.
As we position the rear fender in place, you will notice that the fender has slits that align with the hole spots on the frame. We will be using the bigger and longer bolts to secure the fender in place. We will thread these bolts through and attach the fender to the first two spots. We don’t need to thread them all the way in so that we can easily do adjustments and realignment later on. After that, we can attach the support arms on both sides and secure them with the remaining bigger bolts. We must also make sure that the cable is outside the support arm, so it doesn’t get in the way when the wheel is put back in place. Once all the bolts are put in place, we can do some final adjustments, and we can then proceed to tighten them securely. Before re-installing the rear wheel, be sure that you are satisfied with the alignment of the fender. The two inner bolts will not be accessible with the rear wheel in place.
Once everything is properly aligned, we can put back the rear wheel. It’s a little bit more complicated to remount it compared to the front wheel because of the motor that is in it. We will need to tuck it right on the first chain ring and rotate the axle until it slots in. We can use a 10mm wrench to slot it into the axle and rotate it around. Once it gets into place, the whole axle will perfectly slot right down into it. Additionally, we must always remember that the elbow washers must be on the inside facing down. We can then replace the nuts and tighten it down. And lastly, we will then slide back the rubber caps on. For a more in-depth guide about the removal and installation of the rear wheel, you can check our rear wheel removal article. After this, we can reconnect the cables. We must make sure that the arrow labels align when you plug them together.
Just like in the front, we will need to check that the rear wheel doesn’t rub against the fender. We can give the wheel a spin to observe if there is any contact. If the tires don't rub on the fender, then you have properly installed the fenders on the Tower Beach Bum and you are good to go.
Everything DIY E-Bike Repairs
Homepage: eBike Repair Guide
eBike Repair Basics & Assembly
- eBike Specs and Walkthrough
- Tower eBike Serial Numbers
- Recommended Tools eBike Repairs at Home
- eBike Operation Guide
- Initial Build of a Tower eBike
- Tower eBike Torque Specs
- eBike Care and Maintenance
- Quick Reference eBike Repair Guide
eBike Brake System Service Guide
- eBike Hydraulic Brake System Introduction
- How to Adjust an eBike's Hydraulic Brakes
- How to True an eBike Rotor
- E-Bike Brake Rotor Install
- Brake Pad Install for E-Bikes
- How to Resurface eBike Brake Pads and Rotors
- How to Bleed Hydraulic Brakes on an eBike
eBike Drivetrain Service Guide
- How to Clean Your eBike Drivetrain
- Shifting Adjustment on an E-Bike
- Electric Bike Shifter Cable Install
- How to Install a New Chain on an eBike
- E-Bike Derailleur Installation
- Replace the Shifter on an E-Bike
- Replace an Electric Bike Cassette
- Crankset Install on an E-Bike
- E-Bike Derailleur Hanger Adjustment
- Installing Pedals on an Electric Bike
eBike Wheels & Tire Guide
- Flat Tire Repair on an Electric Bike
- New Tire Install on an Electric Bike
- Rear Wheel (with Hub Motor) Removal Guide
- How to True E-Bike Wheels
- Electric Bike Spoke Replacement
eBike Electric Repair Guide
- E-Bike Electrical System Overview
- Intro to Electrical Troubleshooting an eBike
- Methods of Electrical Troubleshooting an eBike
- Electric Bike Error Codes
- Electric Bike Battery Services
- Electric Bike Motor Issues
- E-Bike Will Not Power On
- Troubleshooting Pedal Assist on an E-Bike
- No Throttle Power eBike Troubleshooting
- E-Bike Does Not Pedal Assist or Throttle
- Intermittent Power Loss While Riding an eBike
Miscellaneous eBike Service Guide